When I began this phase of my DevSecOps journey, I wanted to go beyond theory, I wanted to see the infrastructure I was building. The cloud is exciting, but it can also feel abstract until you spin up your first virtual network and connect real resources to it.
This project was all about laying the foundation: building an Azure Virtual Network (VNet), subnets, Network Security Groups (NSGs), and a Virtual Machine, all using Terraform.
What we’re working on Today
The idea was simple: automate the creation of a small, secure cloud environment. I wanted to:
- Deploy a resource group (think of it as a container for all my Azure resources)
- Define a VNet and subnet (the roads and neighborhoods where my resources will live)
- Secure it with an NSG and inbound SSH/HTTP rules (the security checkpoints)
- Provision a lightweight Linux VM (my actual server)
- Connect to it from my terminal and install Nginx (proof that everything works!)
It’s the classic “hello world” of Infrastructure as Code, but it’s also where many DevOps stories truly begin.
The Setup
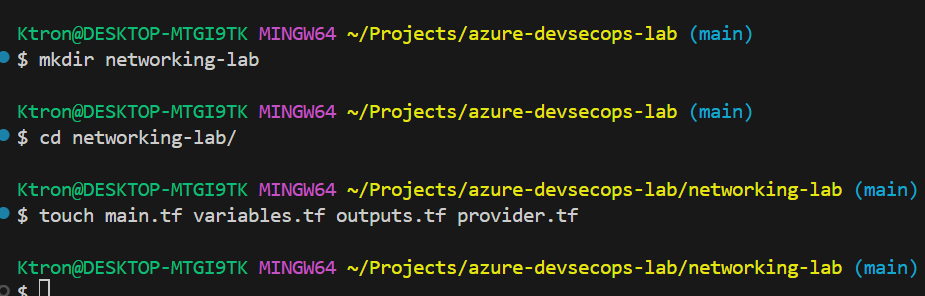
I started by organizing my Terraform directory structure. Clean organization matters, even in small projects:
/networking-lab
  ├── main.tf          # Main infrastructure code
  ├── variables.tf     # Configurable values
  ├── outputs.tf       # Information we want to see after deployment
  └── provider.tf      # Azure connection settings
Step 1: Connecting to Azure
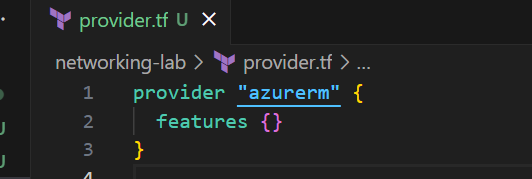
First, I configured my provider to tell Terraform I’m working with Azure:
provider "azurerm" {
  features {}
}
Simple, right? This little block is like saying “Hey Terraform, I’m using Azure, get ready.”
Step 2: Creating the Resource Group
Creating the resource group felt almost ceremonial, because we will do this over and over, this is where everything lives:
resource "azurerm_resource_group" "rg" {
  name     = "rg-devsecops-lab"
  location = "East US"
}
What’s happening here? I’m telling Azure: “Create a container called rg-devsecops-lab in the East US region.” All my other resources will reference this.
Step 3: Building the Virtual Network
Then came the virtual network — the foundation of cloud networking:
resource "azurerm_virtual_network" "vnet" {
  name                = "vnet-lab"
  address_space       = ["10.0.0.0/16"]
  location            = azurerm_resource_group.rg.location
  resource_group_name = azurerm_resource_group.rg.name
}
Translation: I’m creating a private network with space for 65,536 IP addresses (10.0.0.0/16 is CIDR notation). This is my own private section of the Azure cloud.
Step 4: Creating a Subnet
Next, I carved out a smaller section within my VNet:
resource "azurerm_subnet" "subnet" {
  name                 = "subnet-lab"
  resource_group_name  = azurerm_resource_group.rg.name
  virtual_network_name = azurerm_virtual_network.vnet.name
  address_prefixes     = ["10.0.1.0/24"]
}
Why a subnet? Think of it like creating different floors in a building. This subnet can hold 256 addresses (10.0.1.0/24), perfect for my small lab.

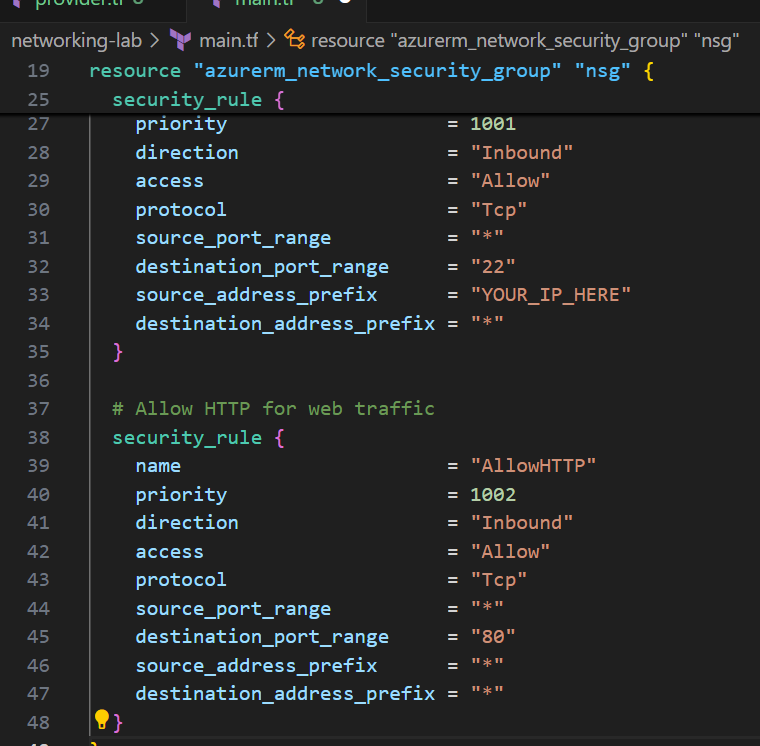
Step 5: Security First
I created a Network Security Group to control who can access my VM:
resource "azurerm_network_security_group" "nsg" {
  name                = "nsg-lab"
  location            = azurerm_resource_group.rg.location
  resource_group_name = azurerm_resource_group.rg.name

  # Allow SSH only from my IP
  security_rule {
    name                       = "AllowSSH"
    priority                   = 1001
    direction                  = "Inbound"
    access                     = "Allow"
    protocol                   = "Tcp"
    source_port_range          = "*"
    destination_port_range     = "22"
    source_address_prefix      = "YOUR_IP_HERE"
    destination_address_prefix = "*"
  }

  # Allow HTTP for web traffic
  security_rule {
    name                       = "AllowHTTP"
    priority                   = 1002
    direction                  = "Inbound"
    access                     = "Allow"
    protocol                   = "Tcp"
    source_port_range          = "*"
    destination_port_range     = "80"
    source_address_prefix      = "*"
    destination_address_prefix = "*"
  }
}
Security tip: Never open SSH (port 22) to the entire internet (0.0.0.0/0) unless absolutely necessary. I locked it down to just my IP address.( you can check your IP at Your_IP and replace with “YOUR_IP_HERE”
Step 6: Spinning Up the Virtual Machine
Finally, the VM itself — the star of the show:
resource "azurerm_linux_virtual_machine" "vm" {
  name                = "vm-lab"
  resource_group_name = azurerm_resource_group.rg.name
  location            = azurerm_resource_group.rg.location
  size                = "Standard_B1s"
  admin_username      = "azureuser"

  network_interface_ids = [
    azurerm_network_interface.nic.id,
  ]

  admin_ssh_key {
    username   = "azureuser"
    public_key = file("~/.ssh/id_ed25519.pub")
  }

  os_disk {
    caching              = "ReadWrite"
    storage_account_type = "Standard_LRS"
  }

  source_image_reference {
    publisher = "Canonical"
    offer     = "0001-com-ubuntu-server-jammy"
    sku       = "22_04-lts"
    version   = "latest"
  }
}
What I chose: A Standard_B1s VM (small and cost-effective), Ubuntu 22.04 LTS, and SSH key authentication (more secure than passwords). Be sure to know the Path of your Public key, to set the ssh key path, see the picture below:
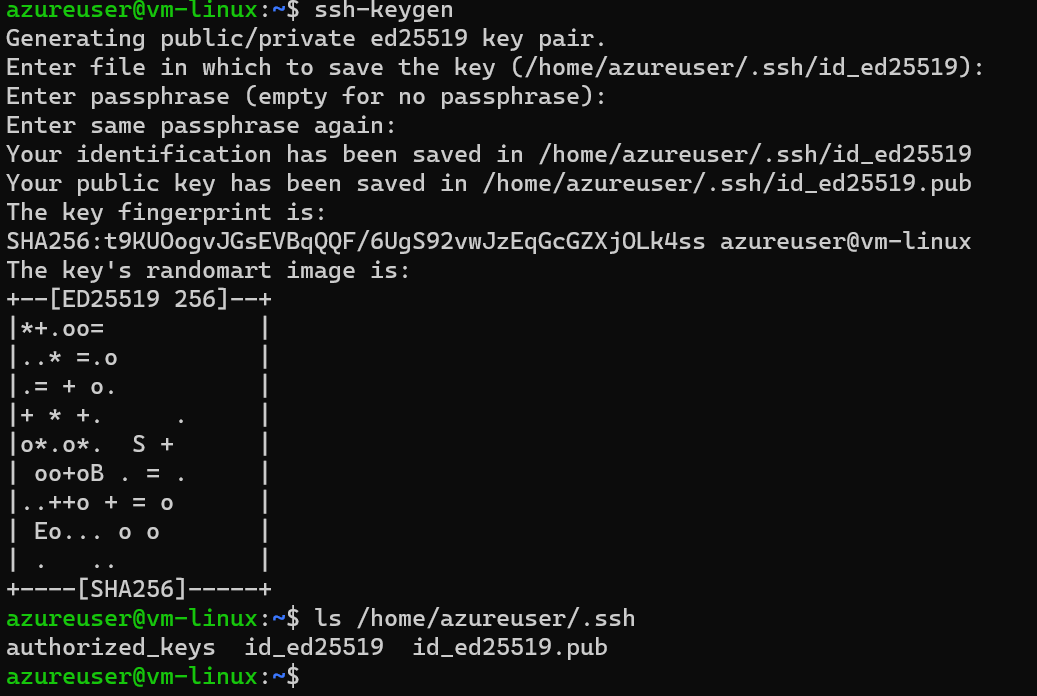
You can make it portable using the environment variable for your home directory:
public_key = file("${pathexpand("~/.ssh/id.pub")}")
pathexpand() correctly resolves ~ across Windows, macOS, and Linux.
Creating a Public IP Address
resource "azurerm_public_ip" "pip" {
  name                = "pip-lab"
  location            = azurerm_resource_group.rg.location
  resource_group_name = azurerm_resource_group.rg.name
  allocation_method   = "Static"
  sku                 = "Standard"
}
Why? This gives my VM a public IP address so I can access it from the internet. Without this, the VM would only be reachable from within Azure.
Creating the Network Interface Card (NIC)
resource "azurerm_network_interface" "nic" {
  name                = "nic-lab"
  location            = azurerm_resource_group.rg.location
  resource_group_name = azurerm_resource_group.rg.name

  ip_configuration {
    name                          = "internal"
    subnet_id                     = azurerm_subnet.subnet.id
    private_ip_address_allocation = "Dynamic"
    public_ip_address_id          = azurerm_public_ip.pip.id
  }
}
Think of the NIC as: The network card that connects your VM to the virtual network. It gets both a private IP (for internal Azure communication) and attaches to the public IP (for internet access).
Connecting the NIC to the NSG
resource "azurerm_network_interface_security_group_association" "nic_nsg" {
  network_interface_id      = azurerm_network_interface.nic.id
  network_security_group_id = azurerm_network_security_group.nsg.id
}
Critical step: This applies our security rules to the network interface. Without this, the NSG rules wouldn’t protect our VM!
The Magic Moment
It was at this point that everything started to click, Terraform wasn’t just a tool, it was a language. I wasn’t clicking buttons in the Azure Portal anymore; I was describing an idea and watching Azure make it real.
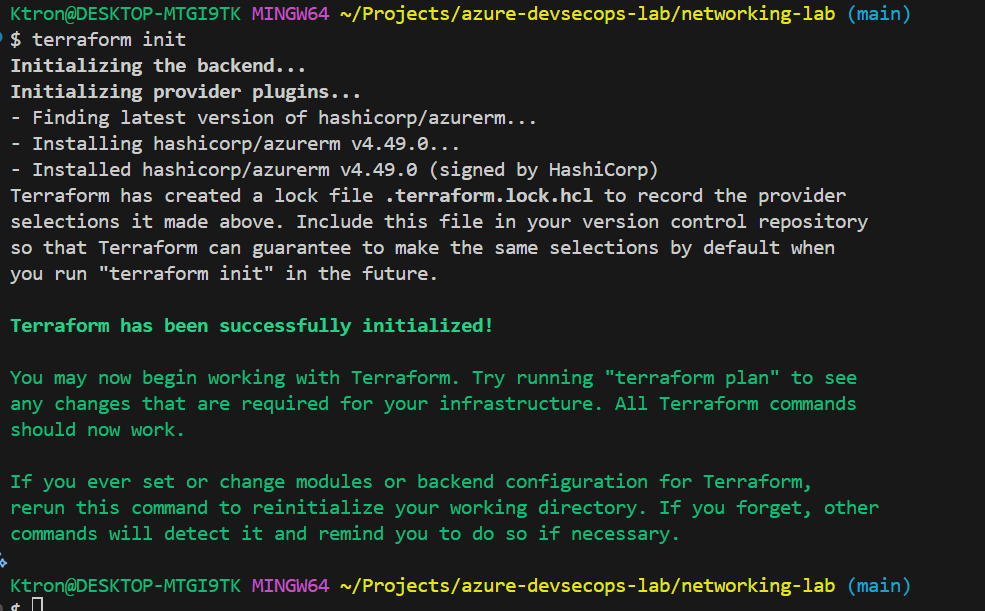
Running these commands brought everything to life:
terraform init # Download Azure provider
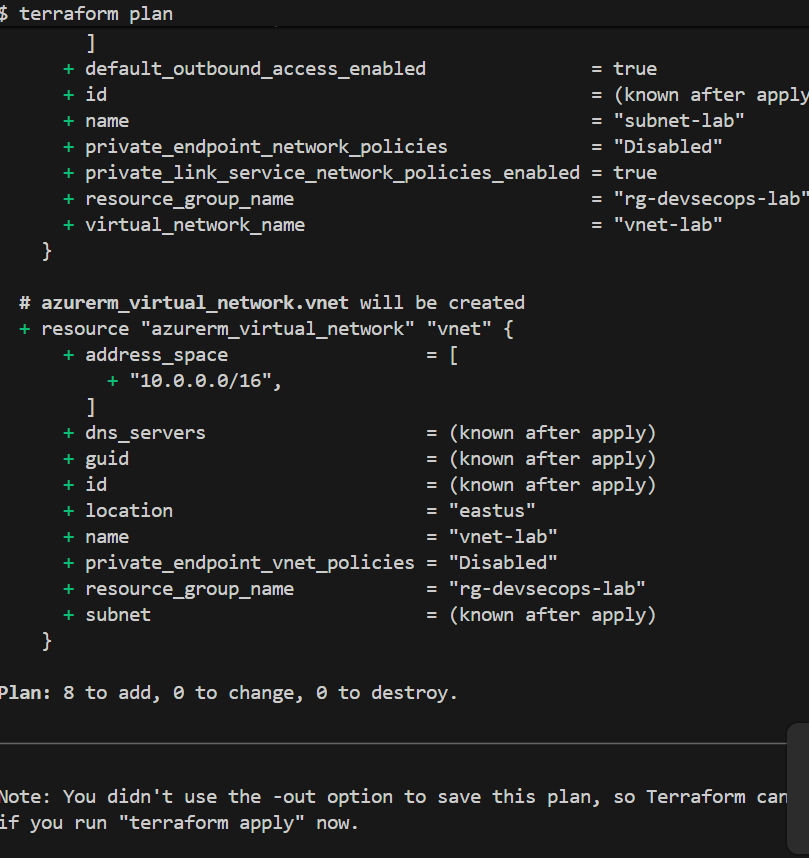
terraform plan # Preview what will be created
terraform apply # Make it happen!
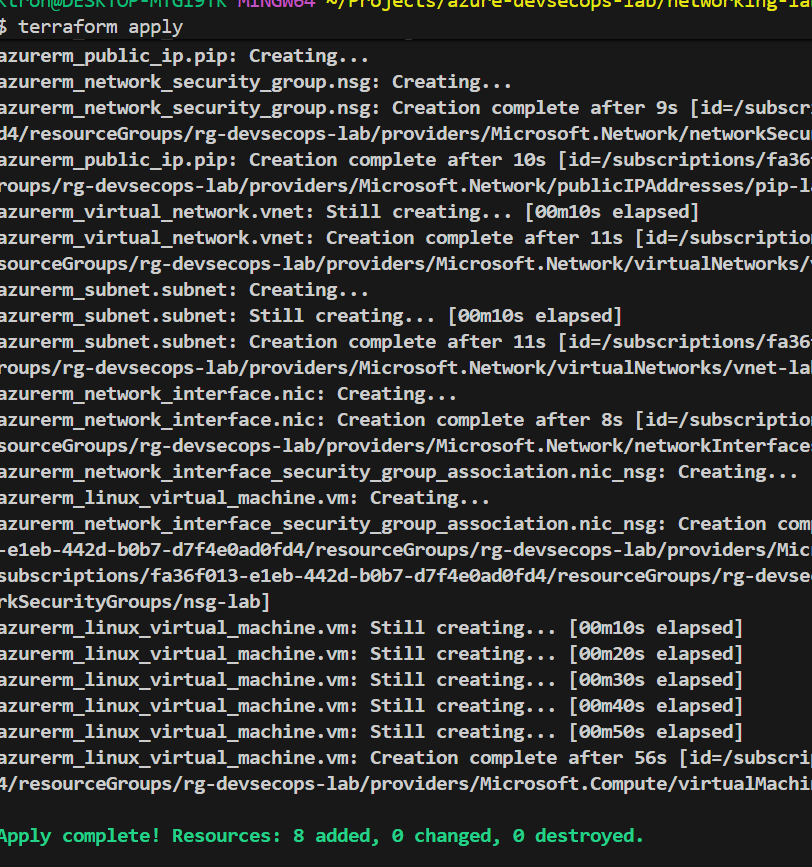
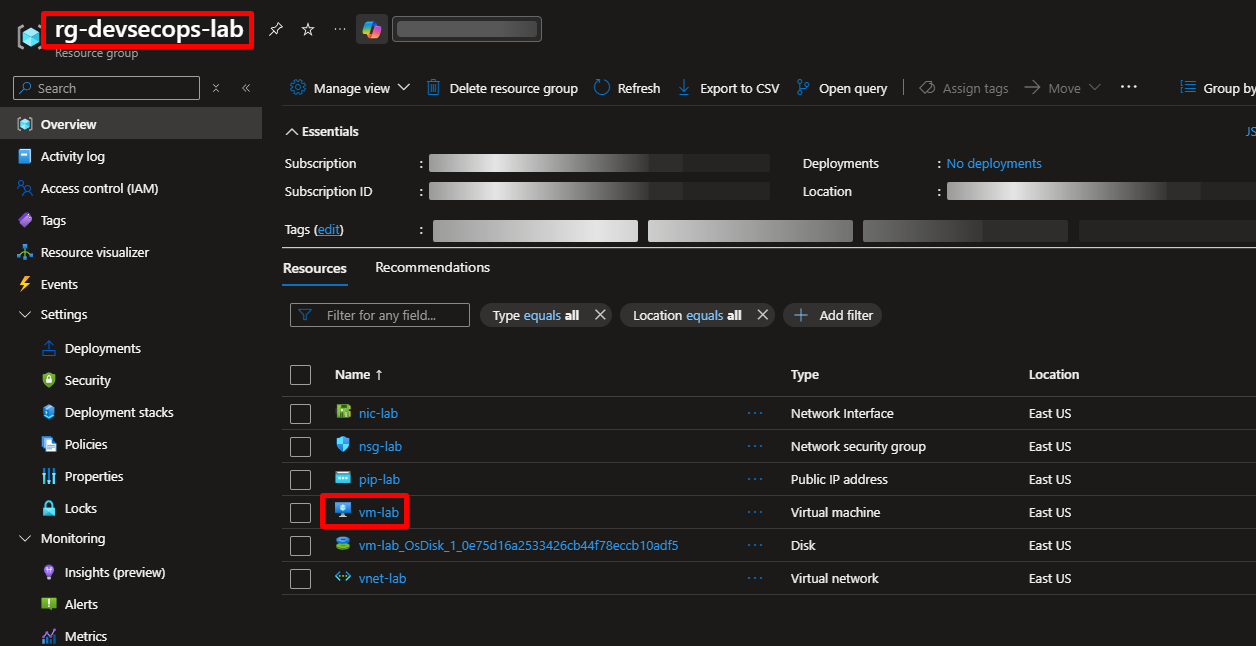
Within minutes, I had:
- ✅ A resource group
- ✅ A virtual network with proper IP addressing
- ✅ Security rules protecting my VM
- ✅ A running Linux server\
Then came the moment of truth — SSH’ing into my VM:
ssh azureuser@<VM_PUBLIC_IP>
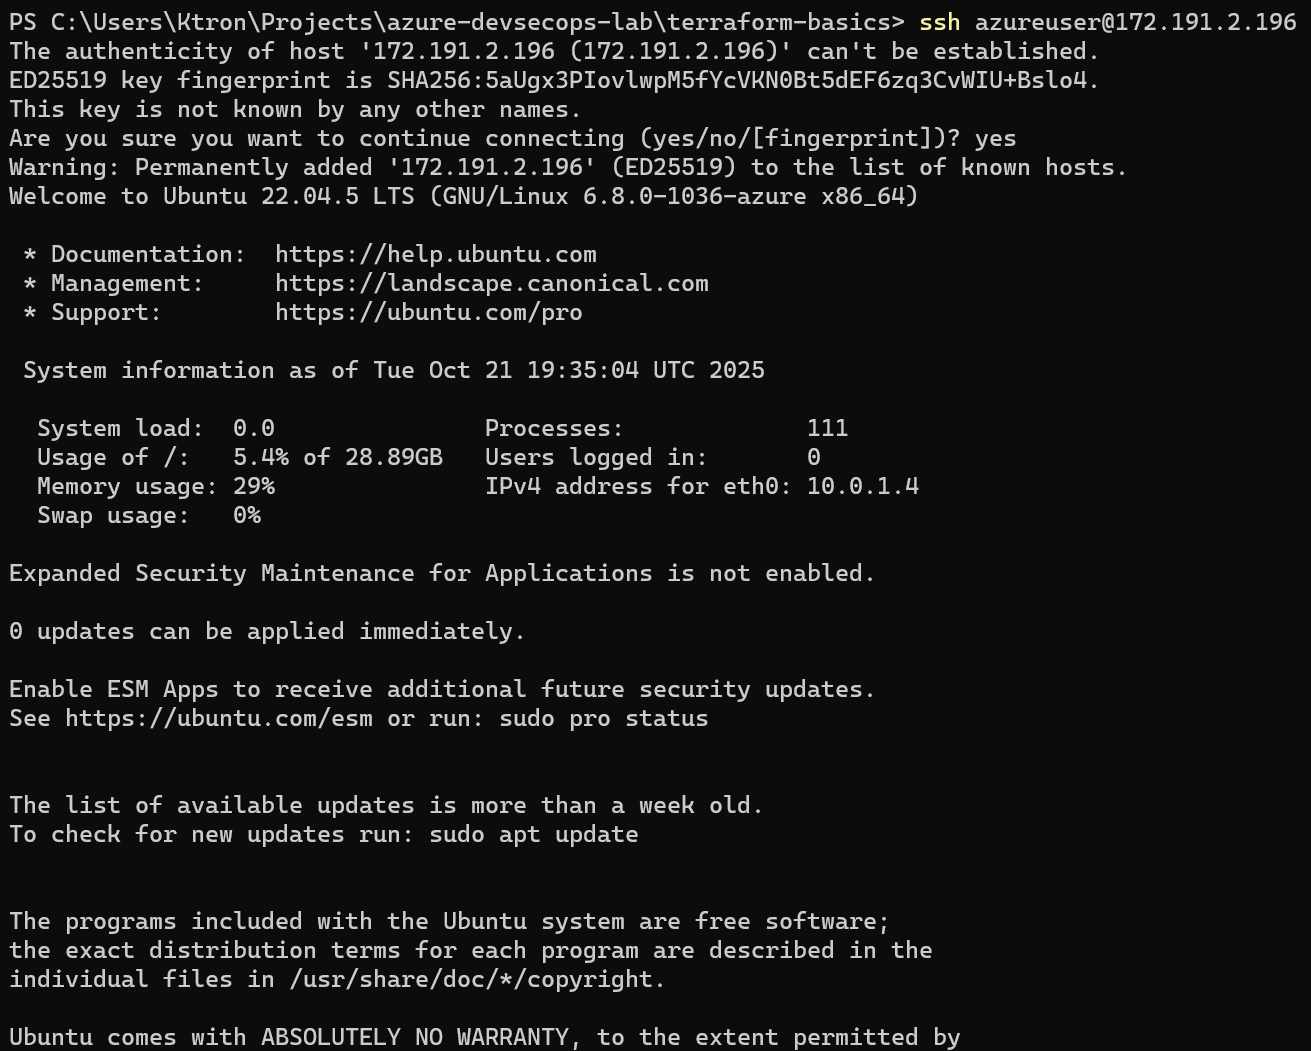
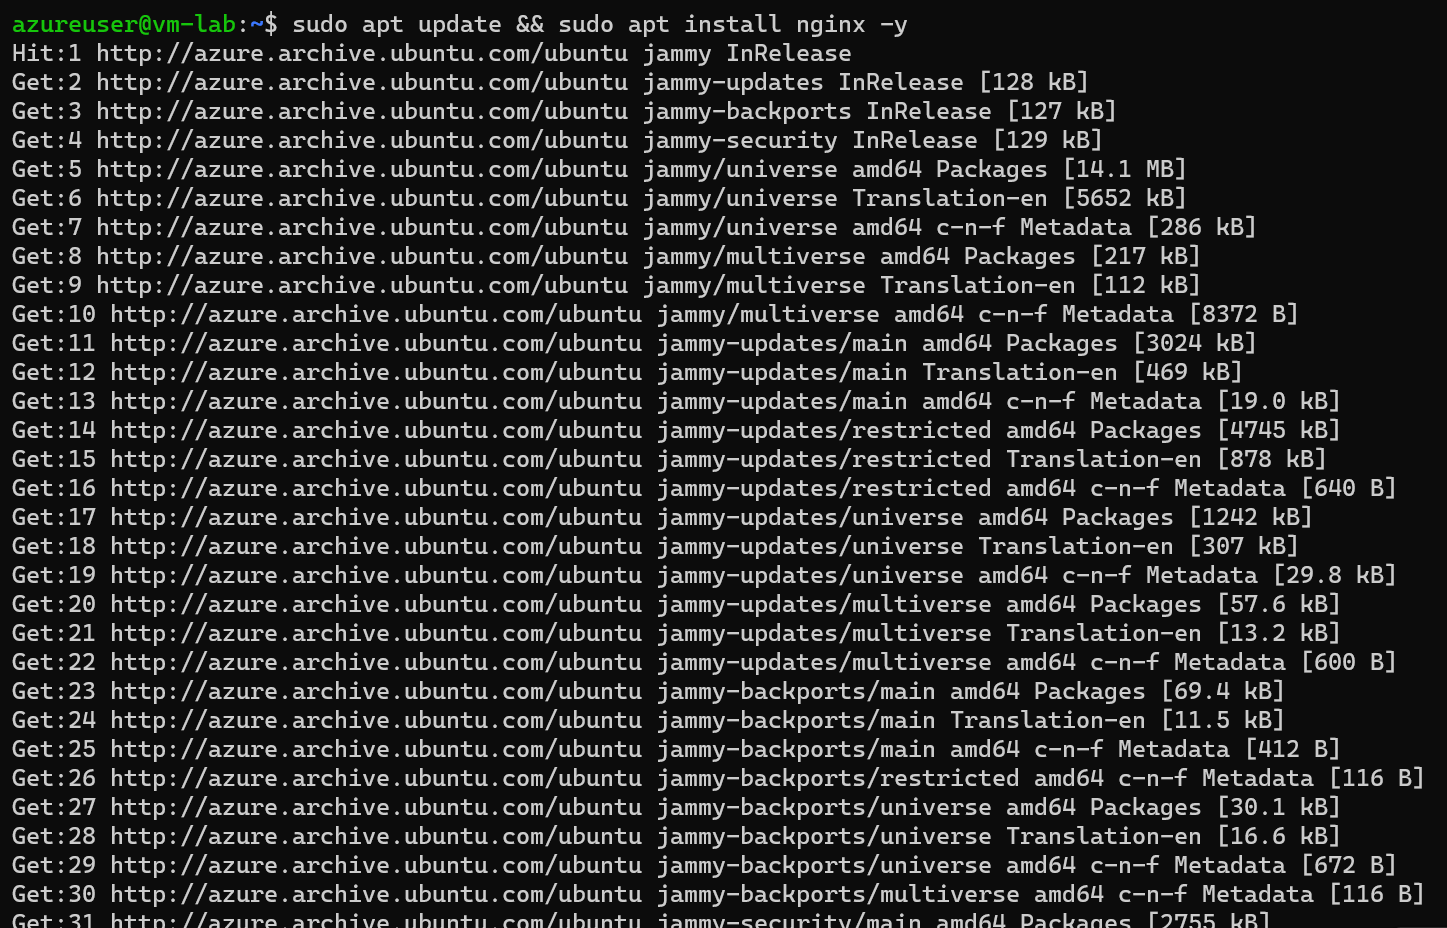
I was in. From there, installing Nginx was simple:
sudo apt update
sudo apt install nginx -y
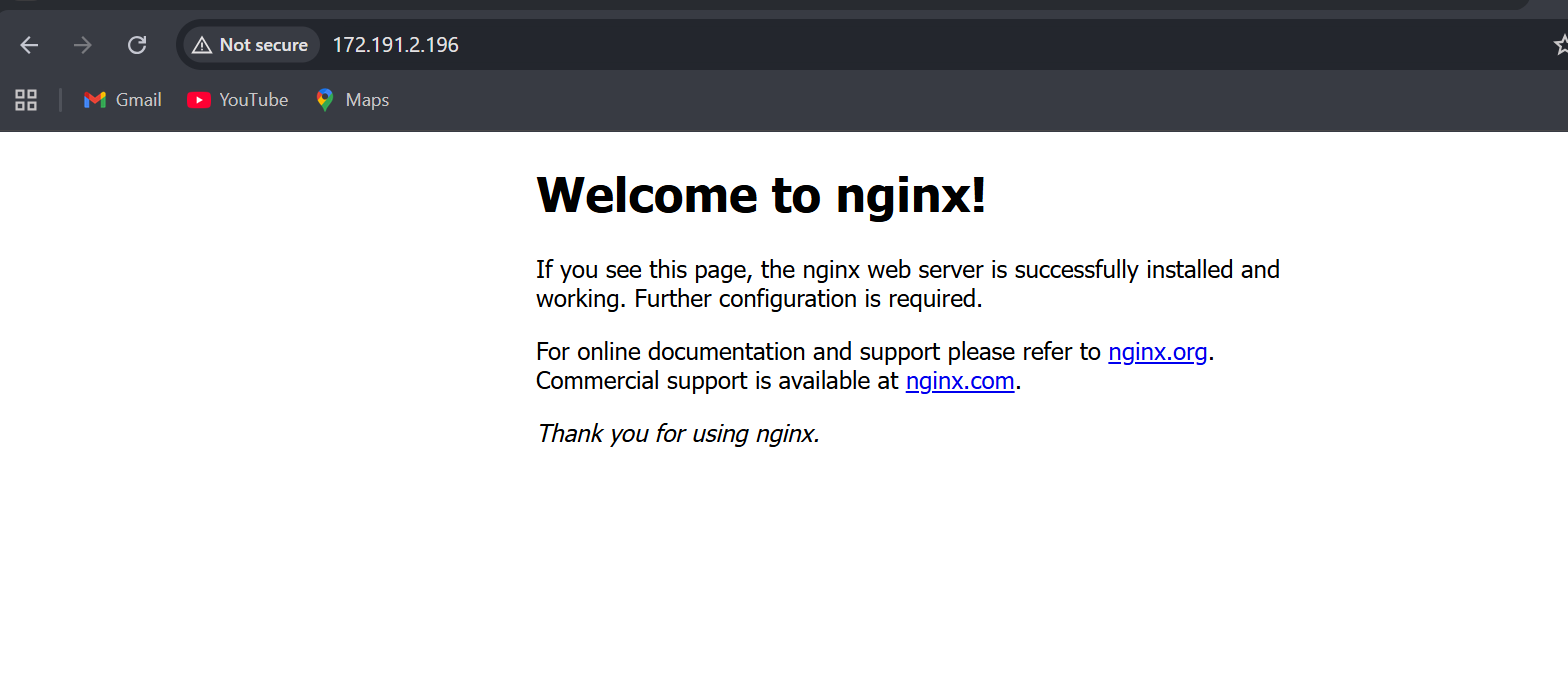
And just like that, I had a web server running in the cloud, built entirely from code.
Key Lessons Learned
1. Networking is the Backbone of Everything
It’s not just about IP ranges — it’s about structure, control, and communication. Understanding VNets and subnets is crucial before moving to more complex architectures.
2. Security Groups Matter More Than You Think
I allowed only my IP for SSH — a good first step toward a security-first mindset. In production, you’d use Azure Bastion or a jump box instead of exposing SSH directly.
3. Start Small, Build Confidence
This “simple” setup taught me more than any tutorial could. Actually deploying infrastructure forces you to think through networking, security, and resource dependencies.
Finally, Dont forget to clean up
terraform destroy 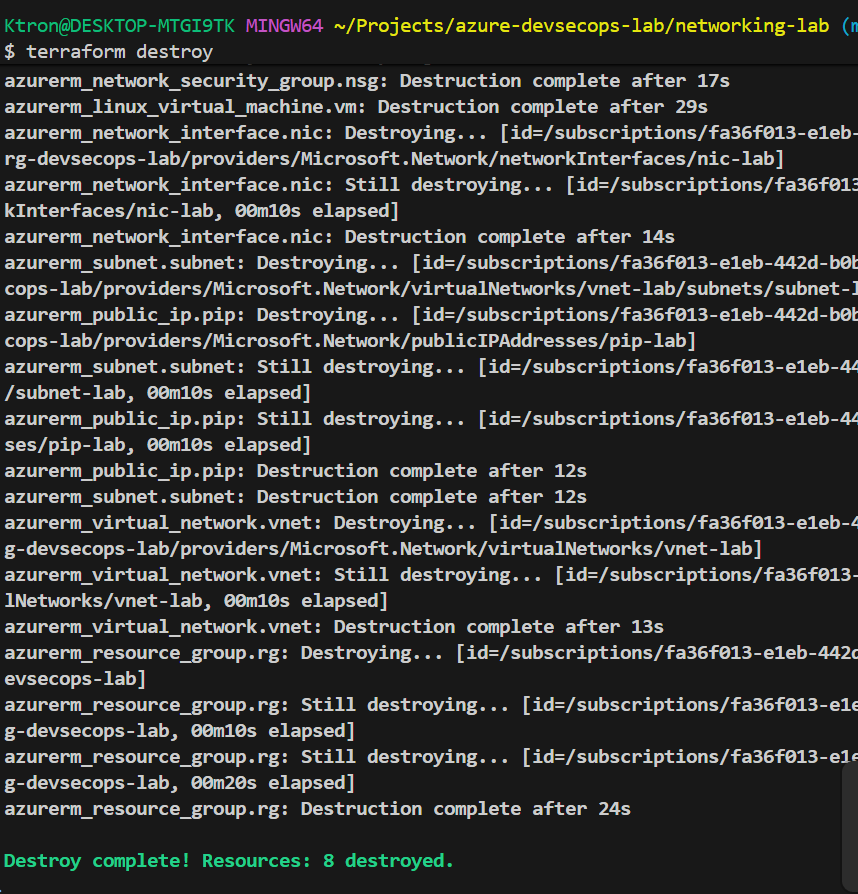


Leave a comment