
After locking down my Azure network with Bastion, I realized security was only half of the equation. What good is a fortress if your users can’t reach it when demand spikes? That’s when I dove into Azure Load Balancer and Virtual Machine Scale Sets (VMSS) the backbone of high availability on Azure.
Architecture Overview
Before we dive into the code, let’s understand what we’re building:

Key Components:
- Front End: Public IP exposing port 80 to the web
- Backend Pool: Auto-managed set of Linux VMs
- Health Probe: Checks port 80 to reroute traffic when a node fails
- Scale Set: Adds/removes VMs based on CPU usage
💡 Think of it like a restaurant: The Load Balancer is your host distributing customers (traffic) to available tables (VMs). When it gets busy, you open more tables (scale out). When it’s quiet, you close some (scale in).
Step 1: Define Infrastructure with Terraform
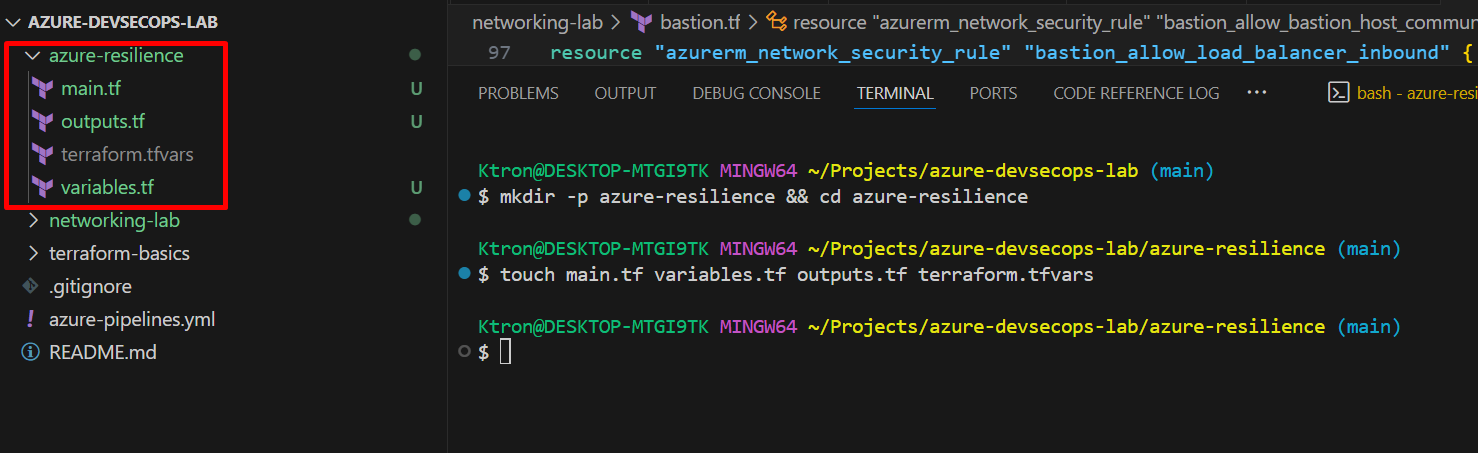
Let’s start by creating the foundation. First, set up your project structure:
azure-resilience/
├── main.tf
├── variables.tf
├── outputs.tf
└── terraform.tfvars
Create the Resource Group and Public IP
# main.tf
terraform {
  required_providers {
    azurerm = {
      source  = "hashicorp/azurerm"
      version = "~> 4.0"
    }
  }
}

provider "azurerm" {
  features {}
}

resource "azurerm_resource_group" "rg" {
  name     = "rg-fintech-resilience"
  location = "East US"
}

resource "azurerm_public_ip" "lb_public" {
  name                = "pip-loadbalancer"
  location            = azurerm_resource_group.rg.location
  resource_group_name = azurerm_resource_group.rg.name
  allocation_method   = "Static"
  sku                 = "Standard"
}
Create the Load Balancer
resource "azurerm_lb" "app_lb" {
name = "fintech-lb"
location = azurerm_resource_group.rg.location
resource_group_name = azurerm_resource_group.rg.name
sku = "Standard"
frontend_ip_configuration {
name = "PublicIP"
public_ip_address_id = azurerm_public_ip.lb_public.id
}
}
resource "azurerm_lb_backend_address_pool" "backend_pool" {
loadbalancer_id = azurerm_lb.app_lb.id
name = "BackendPool"
}
resource "azurerm_lb_probe" "health_probe" {
loadbalancer_id = azurerm_lb.app_lb.id
name = "http-probe"
protocol = "Http"
port = 80
request_path = "/"
}
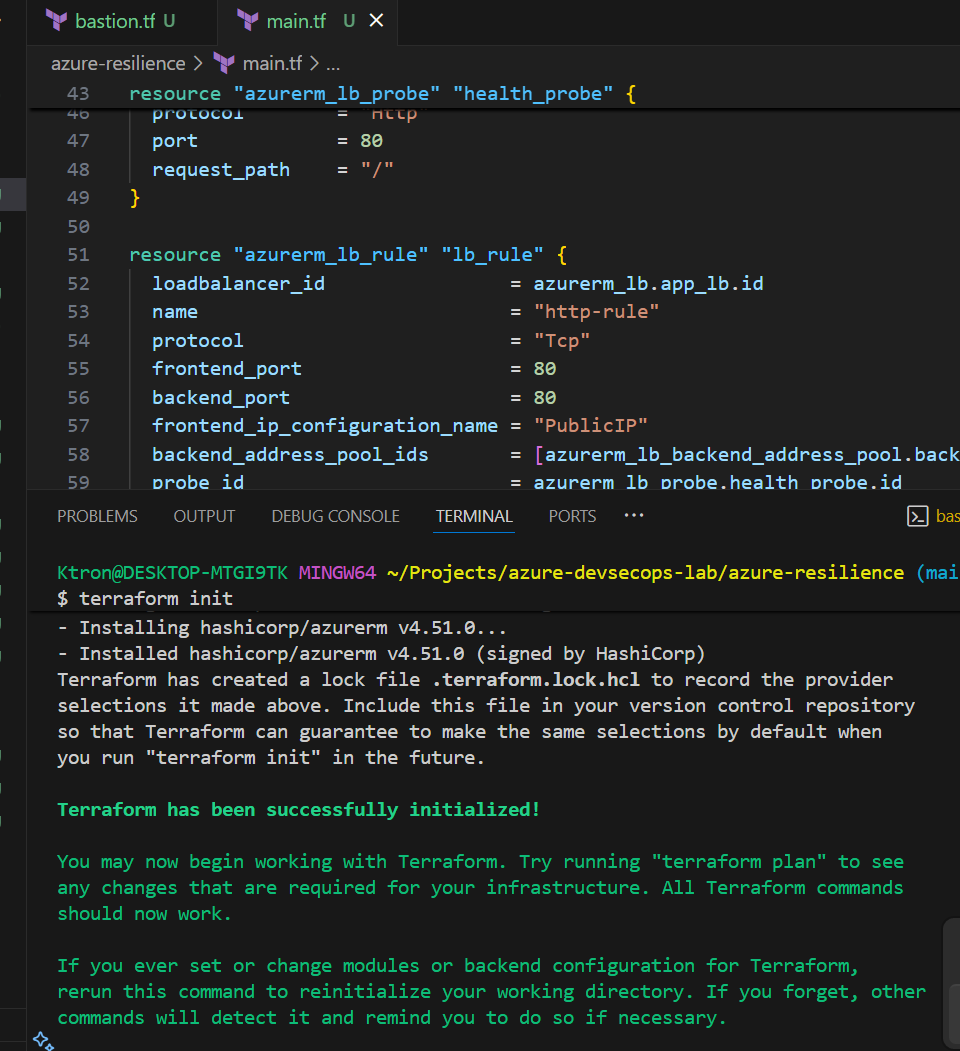
resource "azurerm_lb_rule" "lb_rule" {
loadbalancer_id = azurerm_lb.app_lb.id
name = "http-rule"
protocol = "Tcp"
frontend_port = 80
backend_port = 80
frontend_ip_configuration_name = "PublicIP"
backend_address_pool_ids = [azurerm_lb_backend_address_pool.backend_pool.id]
probe_id = azurerm_lb_probe.health_probe.id
}
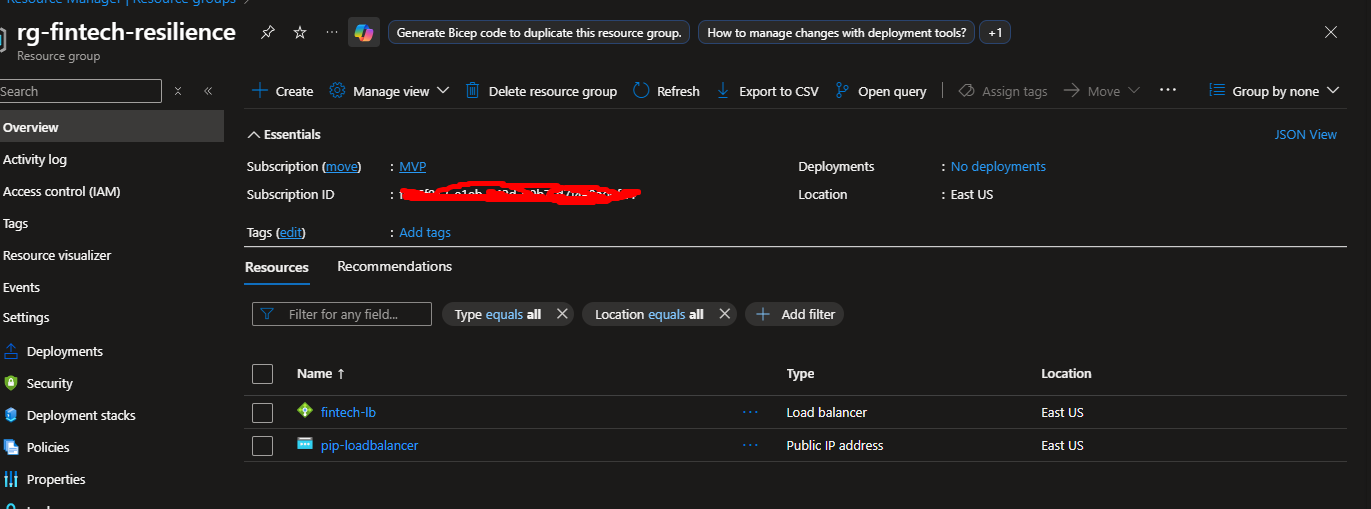
Deploy your infrastructure:
terraform init
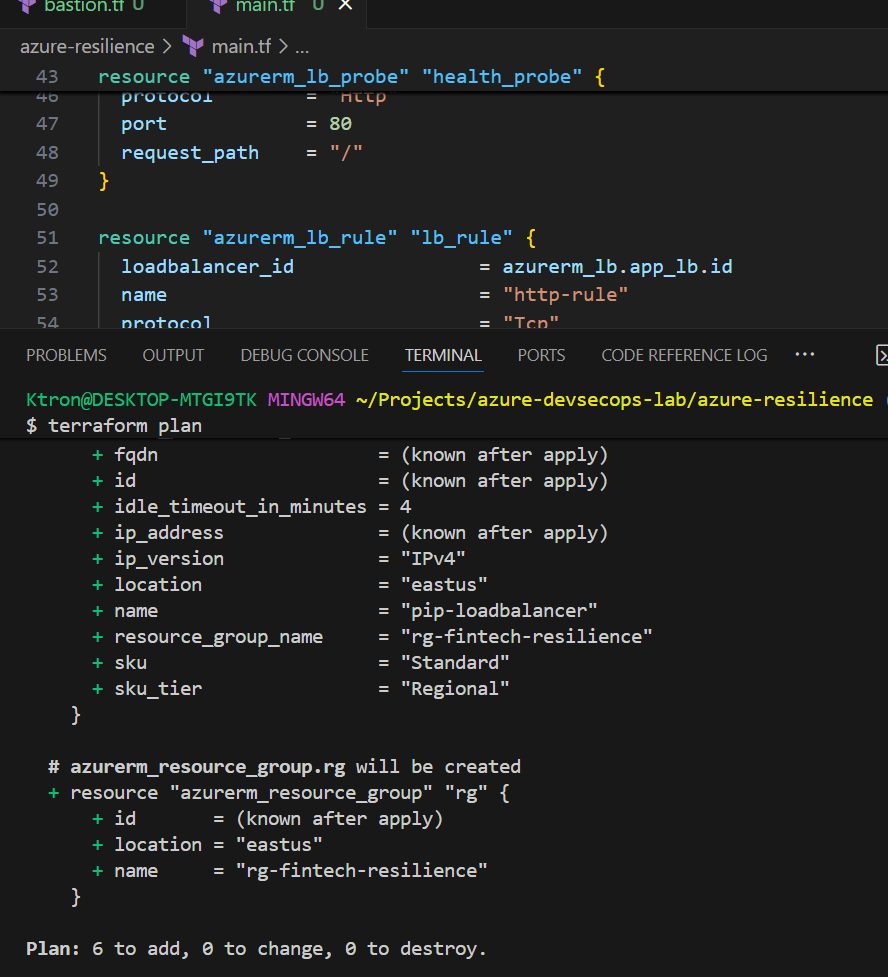
terraform plan
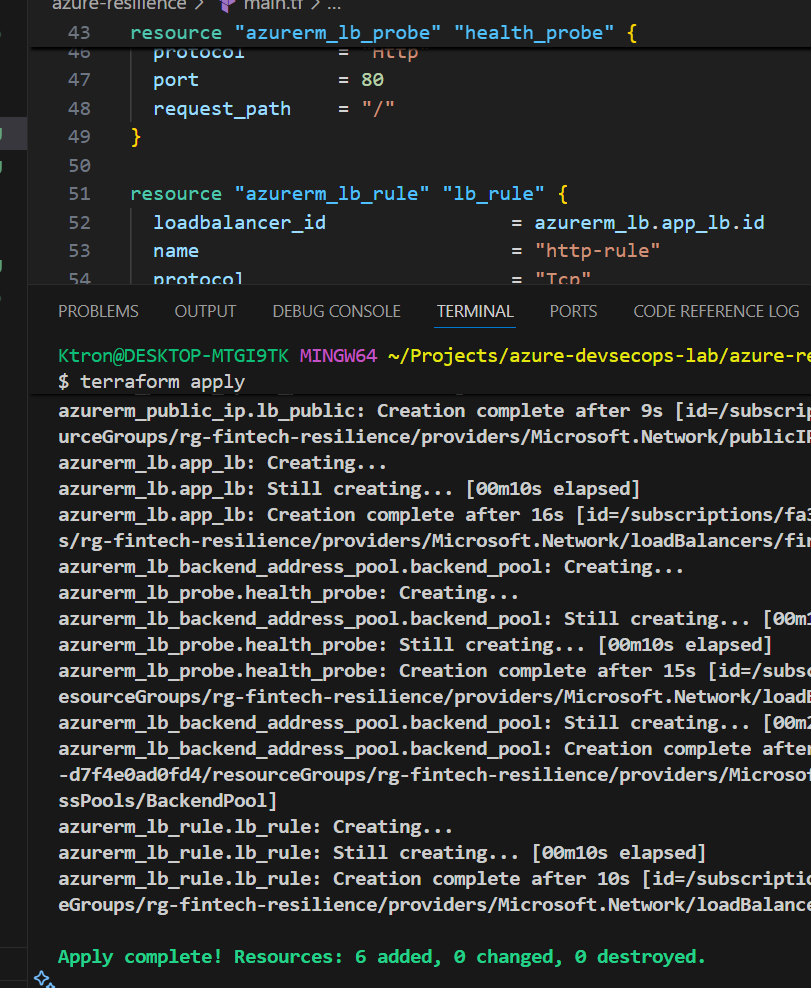
terraform apply
🎯 What just happened? You created a Load Balancer that will distribute incoming HTTP traffic across multiple VMs. The health probe continuously checks if each VM is responding on port 80.
Step 2: Create the VM Scale Set
Now let’s add the VMs that will actually serve your application:
# Create a virtual network first
resource "azurerm_virtual_network" "vnet" {
name = "vnet-vmss"
address_space = ["10.0.0.0/16"]
location = azurerm_resource_group.rg.location
resource_group_name = azurerm_resource_group.rg.name
}
resource "azurerm_subnet" "subnet" {
name = "subnet-vmss"
resource_group_name = azurerm_resource_group.rg.name
virtual_network_name = azurerm_virtual_network.vnet.name
address_prefixes = ["10.0.1.0/24"]
}
resource "azurerm_linux_virtual_machine_scale_set" "vmss" {
name = "finops-vmss"
resource_group_name = azurerm_resource_group.rg.name
location = azurerm_resource_group.rg.location
sku = "Standard_B1s"
instances = 2
admin_username = "azureuser"
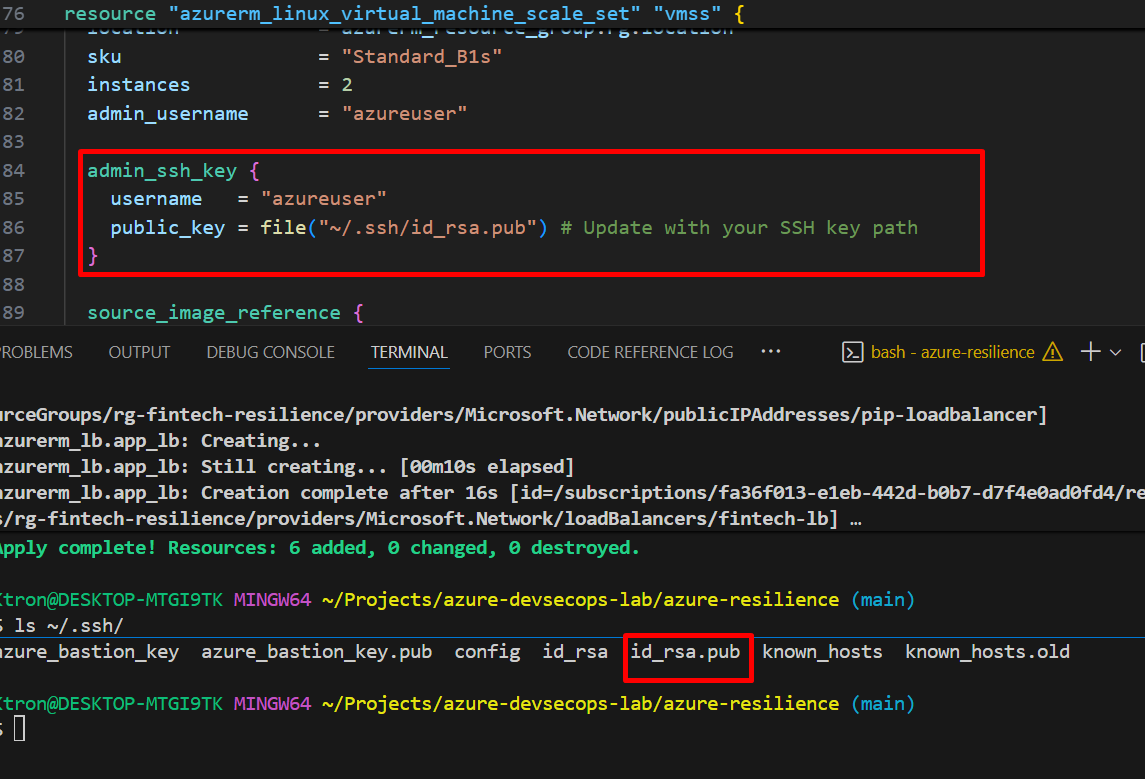
admin_ssh_key {
username = "azureuser"
public_key = file("~/.ssh/id_rsa.pub") # Update with your SSH key path
}
source_image_reference {
publisher = "Canonical"
offer = "0001-com-ubuntu-server-jammy"
sku = "22_04-lts-gen2"
version = "latest"
}
os_disk {
storage_account_type = "Standard_LRS"
caching = "ReadWrite"
}
network_interface {
name = "vmss-nic"
primary = true
ip_configuration {
name = "internal"
primary = true
subnet_id = azurerm_subnet.subnet.id
load_balancer_backend_address_pool_ids = [
azurerm_lb_backend_address_pool.backend_pool.id
]
}
}
# Install a simple web server on each VM
custom_data = base64encode(<<-EOF
#!/bin/bash
apt-get update
apt-get install -y nginx
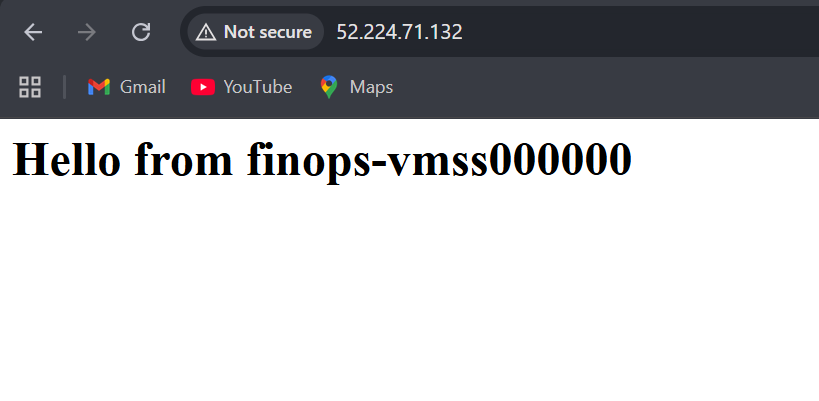
echo "<h1>Hello from $(hostname)</h1>" > /var/www/html/index.html
systemctl start nginx
systemctl enable nginx
EOF
)
}
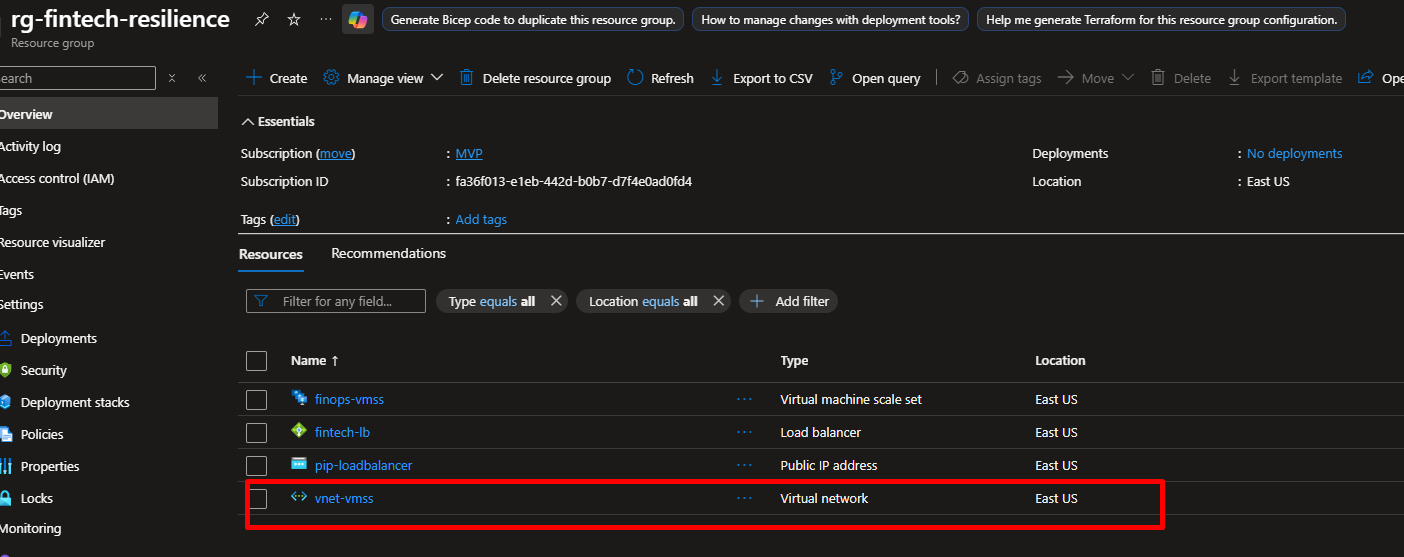
Run terraform apply again to create your VM Scale Set.
Note: The custom_data script installs Nginx and creates a simple HTML page showing which VM is serving the request, also ensure to update the ssh key which we have shown in previous write ups

Step 3: Add Autoscaling Rules
Now for the magic part making your infrastructure respond to demand automatically:
resource "azurerm_monitor_autoscale_setting" "vmss_autoscale" {
name = "vmss-autoscale"
resource_group_name = azurerm_resource_group.rg.name
location = azurerm_resource_group.rg.location
target_resource_id = azurerm_linux_virtual_machine_scale_set.vmss.id
profile {
name = "defaultProfile"
capacity {
default = 2
minimum = 2
maximum = 5
}
# Scale OUT when CPU > 70%
rule {
metric_trigger {
metric_name = "Percentage CPU"
metric_resource_id = azurerm_linux_virtual_machine_scale_set.vmss.id
time_grain = "PT1M"
statistic = "Average"
time_window = "PT5M"
time_aggregation = "Average"
operator = "GreaterThan"
threshold = 70
}
scale_action {
direction = "Increase"
type = "ChangeCount"
value = "1"
cooldown = "PT5M"
}
}
# Scale IN when CPU < 30%
rule {
metric_trigger {
metric_name = "Percentage CPU"
metric_resource_id = azurerm_linux_virtual_machine_scale_set.vmss.id
time_grain = "PT1M"
statistic = "Average"
time_window = "PT5M"
time_aggregation = "Average"
operator = "LessThan"
threshold = 30
}
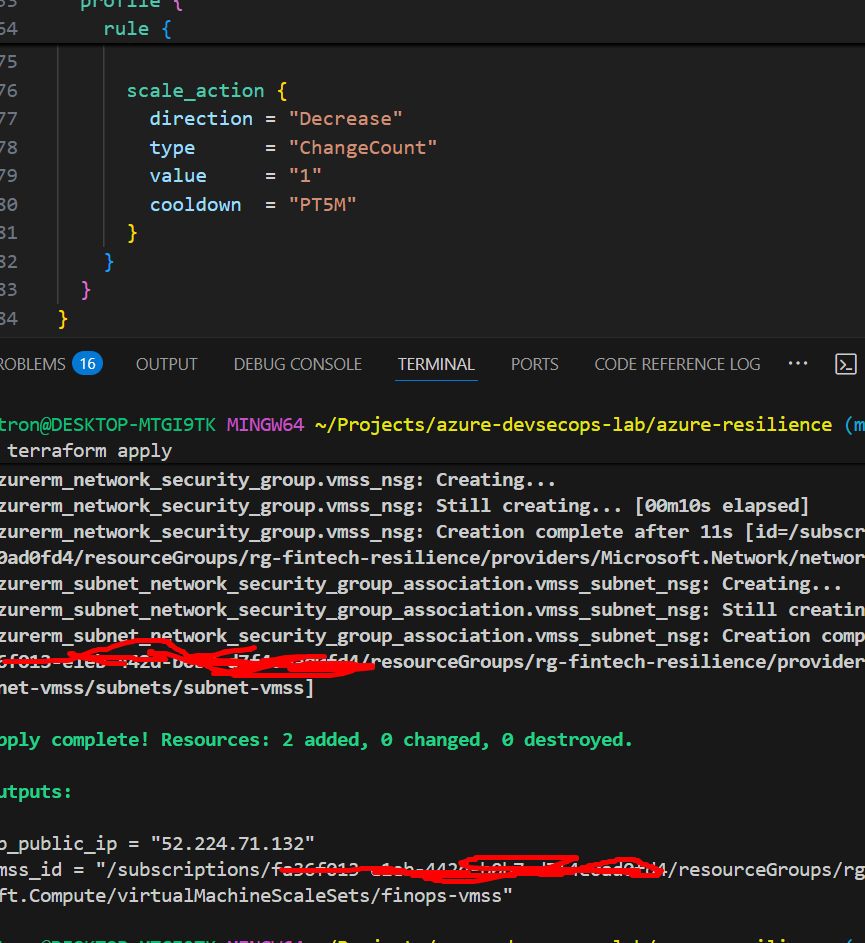
scale_action {
direction = "Decrease"
type = "ChangeCount"
value = "1"
cooldown = "PT5M"
}
}
}
}
Understanding the rules:
- Time Grain: How often to collect metrics (every 1 minute)
- Time Window: How far back to look when calculating average (5 minutes)
- Cooldown: Wait time before performing another scale action (prevents flapping)
Add NSG Rules to Your Terraform
Here’s what you need to add to your Terraform configuration:
# Create a Network Security Group
resource "azurerm_network_security_group" "vmss_nsg" {
  name                = "nsg-vmss"
  location            = azurerm_resource_group.rg.location
  resource_group_name = azurerm_resource_group.rg.name

  # Allow HTTP traffic from Internet
  security_rule {
    name                       = "AllowHTTP"
    priority                   = 100
    direction                  = "Inbound"
    access                     = "Allow"
    protocol                   = "Tcp"
    source_port_range          = "*"
    destination_port_range     = "80"
    source_address_prefix      = "Internet"
    destination_address_prefix = "*"
  }

  # Allow HTTPS traffic (optional, but recommended)
  security_rule {
    name                       = "AllowHTTPS"
    priority                   = 110
    direction                  = "Inbound"
    access                     = "Allow"
    protocol                   = "Tcp"
    source_port_range          = "*"
    destination_port_range     = "443"
    source_address_prefix      = "Internet"
    destination_address_prefix = "*"
  }

  # CRITICAL: Allow Azure Load Balancer health probes
  security_rule {
    name                       = "AllowAzureLoadBalancerProbe"
    priority                   = 120
    direction                  = "Inbound"
    access                     = "Allow"
    protocol                   = "*"
    source_port_range          = "*"
    destination_port_range     = "*"
    source_address_prefix      = "AzureLoadBalancer"
    destination_address_prefix = "*"
  }

  # Allow outbound internet access (for VM updates, etc.)
  security_rule {
    name                       = "AllowInternetOutbound"
    priority                   = 100
    direction                  = "Outbound"
    access                     = "Allow"
    protocol                   = "*"
    source_port_range          = "*"
    destination_port_range     = "*"
    source_address_prefix      = "*"
    destination_address_prefix = "Internet"
  }
}

# Associate NSG with the subnet
resource "azurerm_subnet_network_security_group_association" "vmss_subnet_nsg" {
  subnet_id                 = azurerm_subnet.subnet.id
  network_security_group_id = azurerm_network_security_group.vmss_nsg.id
}
Critical Rule: Azure Load Balancer Health Probe
Network Security Groups must allow Load Balancer traffic from the Azure infrastructure IP address 168.63.129.16, which is used by health probes. The rule using source_address_prefix = "AzureLoadBalancer" takes care of this automatically.
Add this output to see your results:
# outputs.tf
output "lb_public_ip" {
  value = azurerm_public_ip.lb_public.ip_address
  description = "Public IP of the Load Balancer"
}

output "vmss_id" {
  value = azurerm_linux_virtual_machine_scale_set.vmss.id
  description = "Resource ID of the VM Scale Set"
}
Reflection
Scaling shouldn’t just mean “more servers.” It means continuity users never noticing the chaos behind the scenes. When I saw the Load Balancer distributing requests seamlessly and VMs spinning up automatically under load, I felt I was one step closer to what real-world Platform Ops looks like stable, secure, self-healing infrastructure.
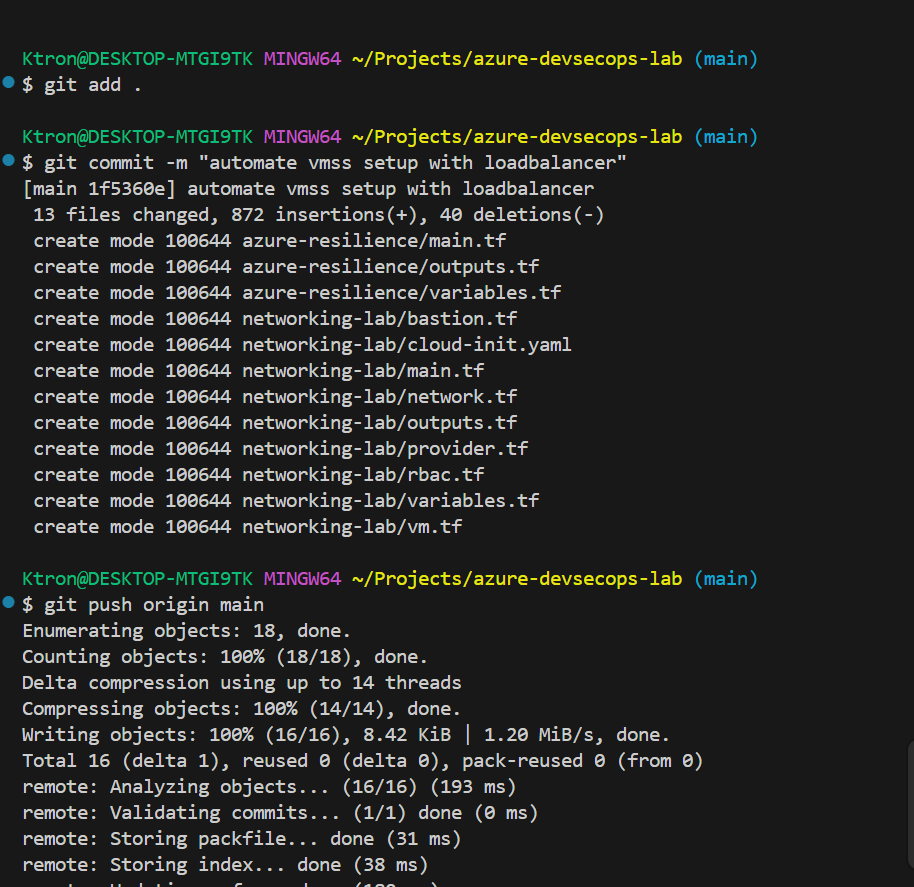
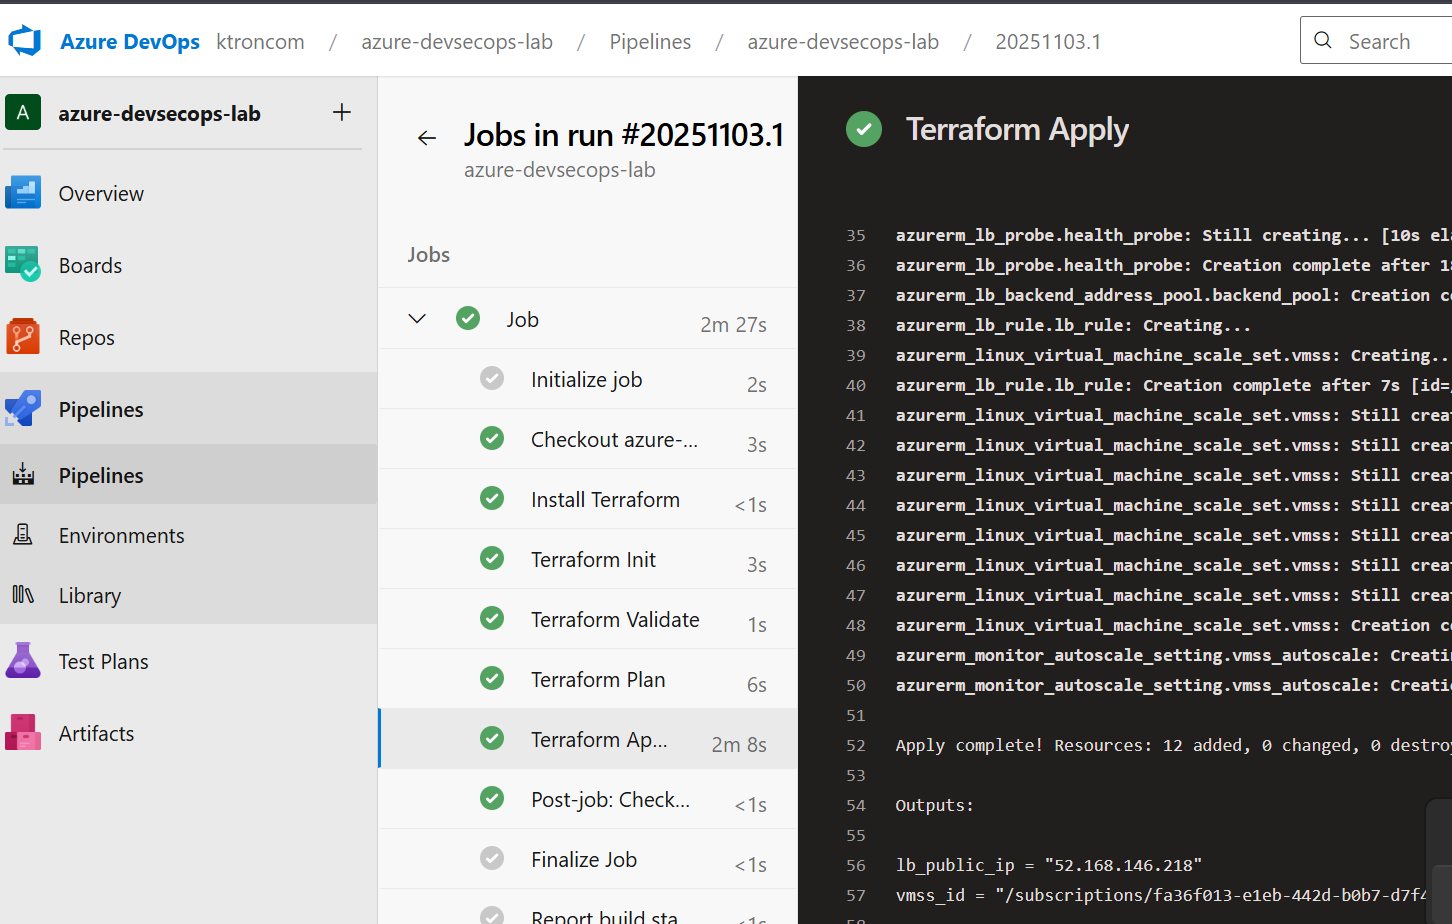
Step 4: Integrate with Azure Pipelines
To automate deployments and infrastructure updates, create an Azure Pipeline: We can destroy the deploymnet by the “terraform destroy” command and push the code to our azure git repo.
trigger:
  - main

pool:
  name: "Self-Hosted"

variables:
  terraformWorkingDirectory: "$(System.DefaultWorkingDirectory)/azure-resilience"

steps:
  # Install Terraform
  - task: TerraformInstaller@1
    displayName: "Install Terraform"
    inputs:
      terraformVersion: "1.8.5"

  # Terraform Init
  - task: TerraformTaskV4@4
    displayName: "Terraform Init"
    inputs:
      provider: "azurerm"
      command: "init"
      workingDirectory: "$(terraformWorkingDirectory)"
      backendServiceArm: "azure-devsecops-connection"
      backendAzureRmResourceGroupName: "devsecops-rg"
      backendAzureRmStorageAccountName: "devsecopsstate00211"
      backendAzureRmContainerName: "tfstate"
      backendAzureRmKey: "devsecops-env.tfstate"

  # Terraform Validate
  - task: TerraformTaskV4@4
    displayName: "Terraform Validate"
    inputs:
      provider: "azurerm"
      command: "validate"
      workingDirectory: "$(terraformWorkingDirectory)"

  # Terraform Plan
  - task: TerraformTaskV4@4
    displayName: "Terraform Plan"
    inputs:
      provider: "azurerm"
      command: "plan"
      workingDirectory: "$(terraformWorkingDirectory)"
      environmentServiceNameAzureRM: "azure-devsecops-connection"
      commandOptions: "-out=tfplan"

  # Terraform Apply
  - task: TerraformTaskV4@4
    displayName: "Terraform Apply"
    inputs:
      provider: "azurerm"
      command: "apply"
      workingDirectory: "$(terraformWorkingDirectory)"
      environmentServiceNameAzureRM: "azure-devsecops-connection"
      commandOptions: "-auto-approve tfplan"
Key Takeaways:
✅ Load Balancers ensure no single point of failure
✅ Health Probes automatically detect and route around failed VMs
✅ Auto-scaling adjusts capacity based on actual demand
✅ Infrastructure as Code makes everything repeatable and version-controlled


Leave a comment