
By this point, I had already deployed infrastructure, automated secrets, and secured costs. But one major question remained:“How do I know that what I deploy is reliable and secure every single time?” That’s where test automation and quality gates came in.
What We’re Building
A simple Flask web application with a full testing pipeline that includes:
- Unit Tests – Testing individual functions
- Code Quality Analysis – SonarCloud checking for bugs and code smells
- Security Scanning – OWASP ZAP finding vulnerabilities
- Automated Deployment – Only deploys if all tests pass
Think of it as a series of checkpoints your code must pass before reaching production.
Prerequisites (Don’t Skip This!)
You’ll need:
- An Azure account
- Azure DevOps account
- SonarCloud account (free for public repos)
- Basic understanding of Git
- Python 3.10+ installed on your machine
Why Start with the App?
Before we can test anything, we need something TO test! We’re building a simple Flask API with three endpoints. For this we will use a new project folder not the one we have had before, so we have a structured code base.
Step 1: Create Your Project Structure
Open your terminal and run:
mkdir project-11-testing-pipeline
cd project-11-testing-pipeline
mkdir app
mkdir app/tests
mkdir terraform

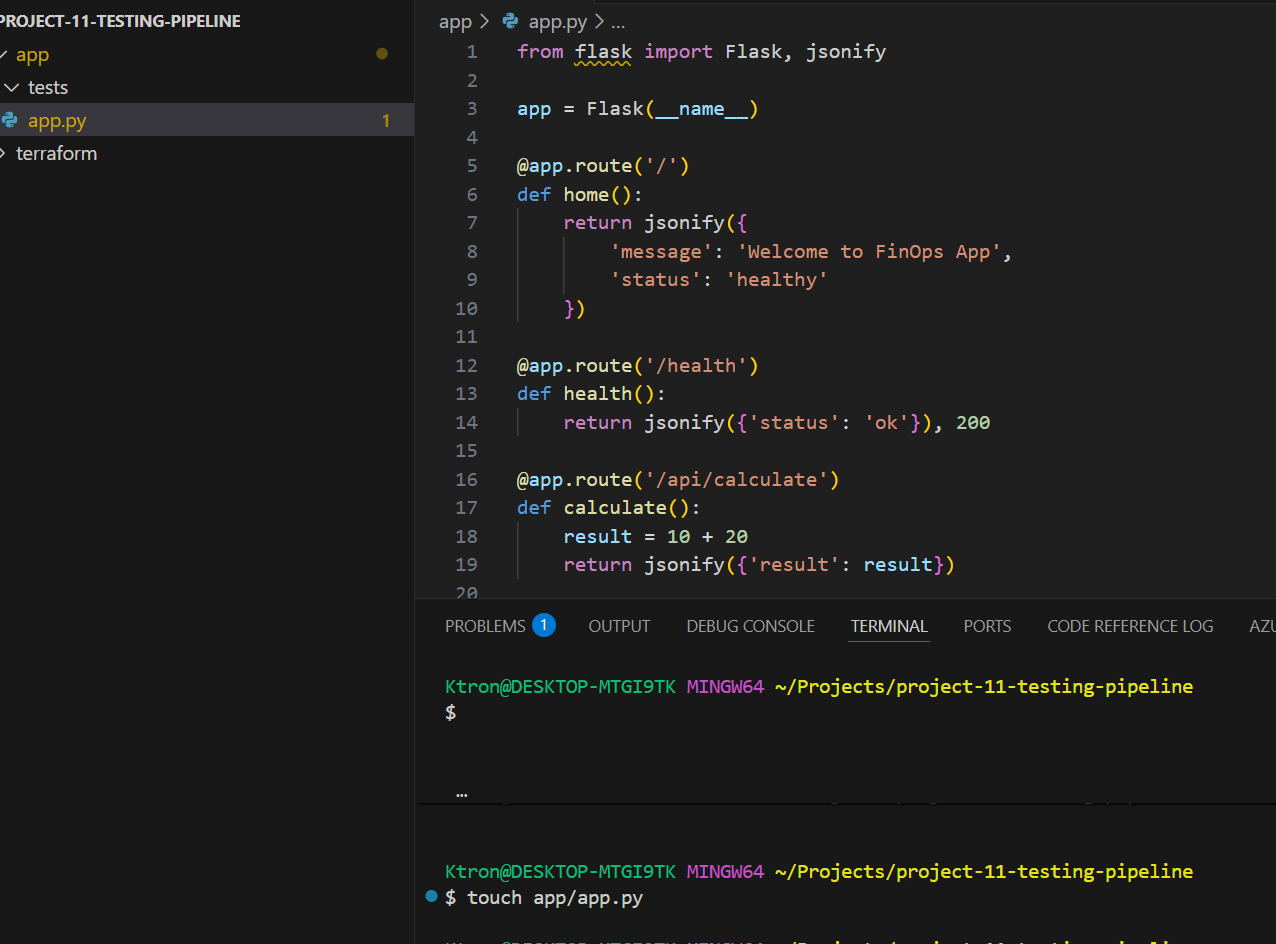
Step 2: Build the Flask Application
Create a file called app/app.py:
from flask import Flask, jsonify

app = Flask(__name__)

@app.route('/')
def home():
    return jsonify({
        'message': 'Welcome to FinOps App',
        'status': 'healthy'
    })

@app.route('/health')
def health():
    return jsonify({'status': 'ok'}), 200

@app.route('/api/calculate')
def calculate():
    result = 10 + 20
    return jsonify({'result': result})

if __name__ == '__main__':
    app.run(host='0.0.0.0', port=8080)
What’s happening here?
- We created 3 simple endpoints
/– Welcome message/health– Health check (super important for monitoring!)/api/calculate– A simple calculation
Step 3: Add Dependencies
Create app/requirements.txt:
Flask==2.3.0
pytest==7.4.0
pytest-flask==1.2.0
requests==2.31.0
Pro Tip: Always pin your versions! This prevents “it works on my machine” issues.

Part 2: Writing Your First Tests
This is where the magic happens! Tests are like having a robot check your work 24/7.
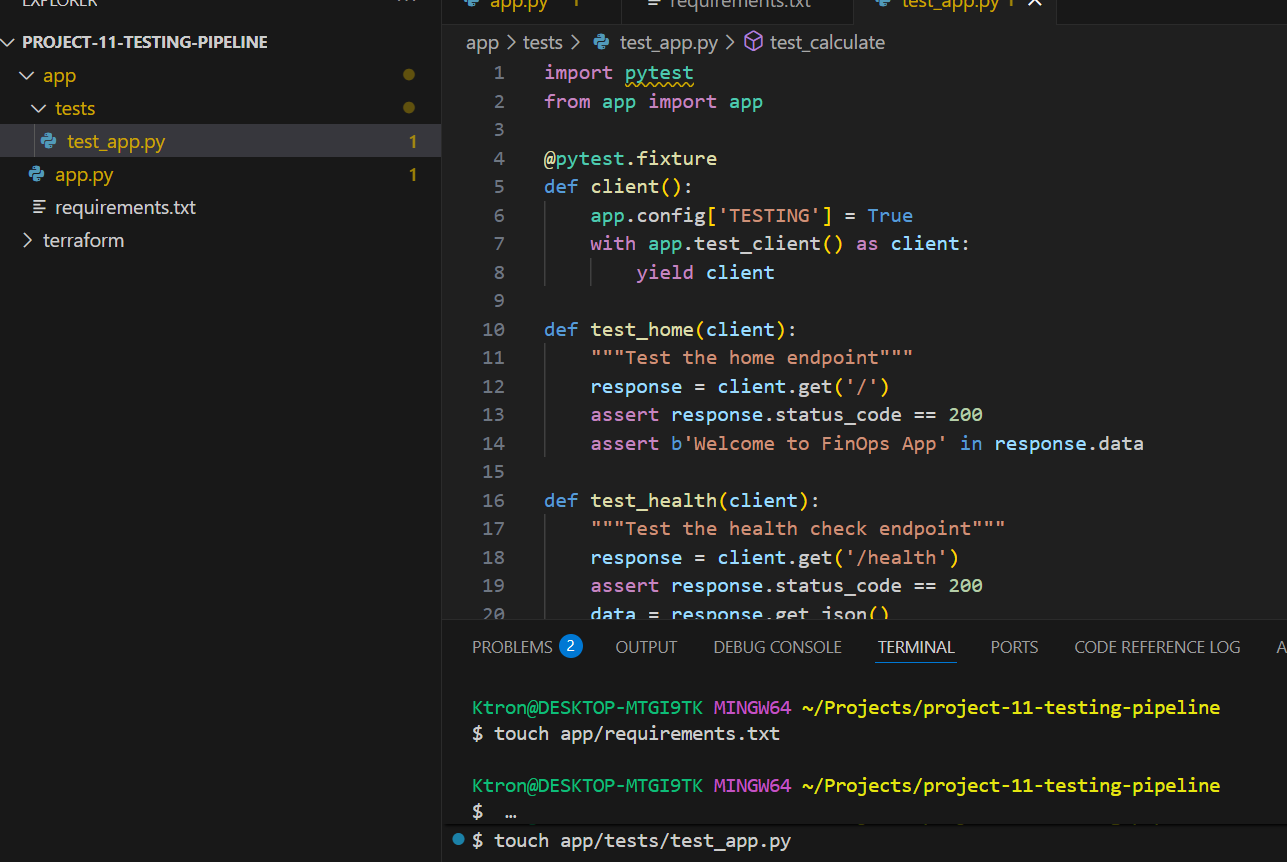
Step 1: Create Test File
Create app/tests/test_app.py:
import pytest
from app import app

@pytest.fixture
def client():
    app.config['TESTING'] = True
    with app.test_client() as client:
        yield client

def test_home(client):
    """Test the home endpoint"""
    response = client.get('/')
    assert response.status_code == 200
    assert b'Welcome to FinOps App' in response.data

def test_health(client):
    """Test the health check endpoint"""
    response = client.get('/health')
    assert response.status_code == 200
    data = response.get_json()
    assert data['status'] == 'ok'

def test_calculate(client):
    """Test the calculate endpoint"""
    response = client.get('/api/calculate')
    assert response.status_code == 200
    data = response.get_json()
    assert data['result'] == 30
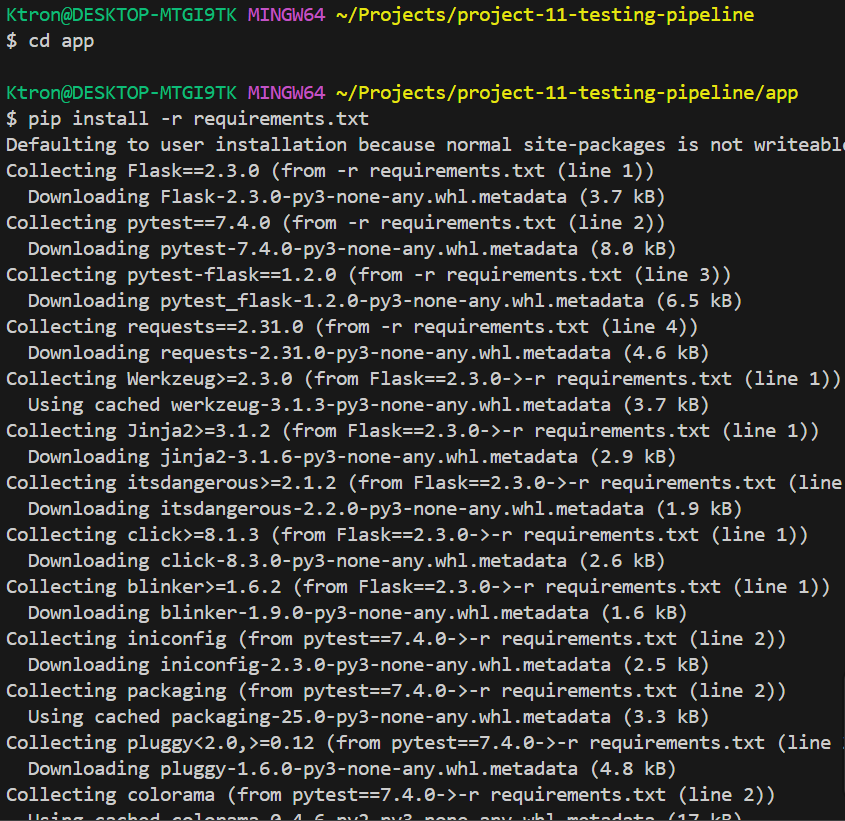
Step 2: Run Tests Locally
cd app
pip install -r requirements.txt
python -m pytest tests/ -v

We just wrote and ran your first automated tests!
Part 3: Setting Up Azure Infrastructure
Now we need somewhere to deploy our app.
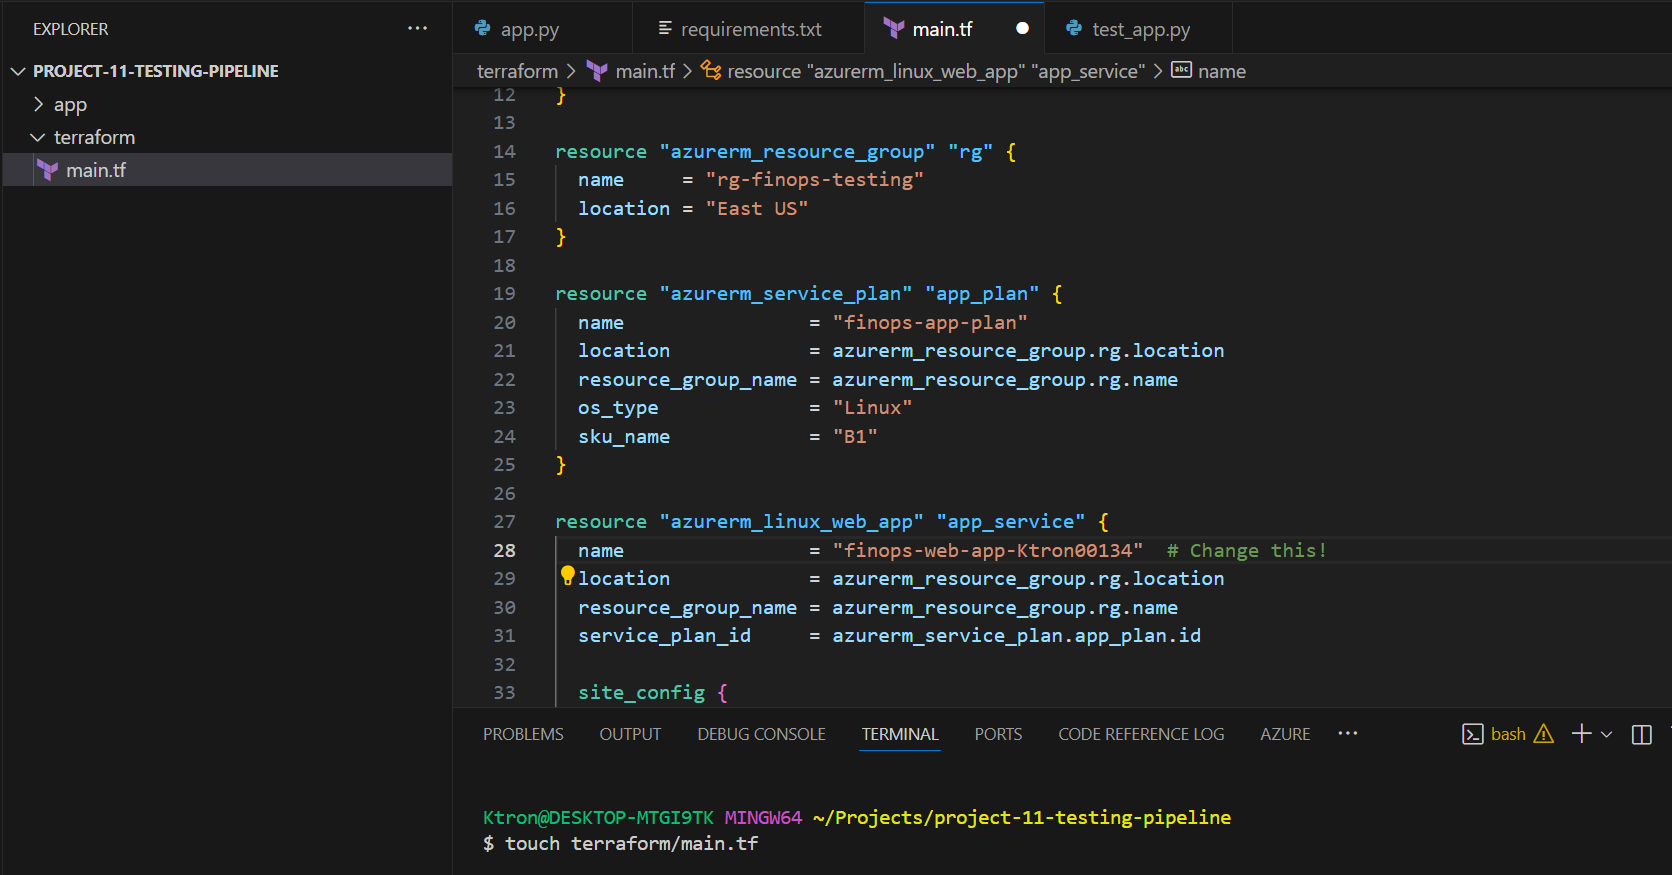
Step 1: Create Terraform Configuration
Create terraform/main.tf:
terraform {
  required_providers {
    azurerm = {
      source  = "hashicorp/azurerm"
      version = "~> 4.0"
    }
  }
}

provider "azurerm" {
  features {}
}

resource "azurerm_resource_group" "rg" {
  name     = "rg-finops-testing"
  location = "East US"
}

resource "azurerm_service_plan" "app_plan" {
  name                = "finops-app-plan"
  location            = azurerm_resource_group.rg.location
  resource_group_name = azurerm_resource_group.rg.name
  os_type             = "Linux"
  sku_name            = "B1"
}

resource "azurerm_linux_web_app" "app_service" {
  name                = "finops-web-app-yourname"  # Change this!
  location            = azurerm_resource_group.rg.location
  resource_group_name = azurerm_resource_group.rg.name
  service_plan_id     = azurerm_service_plan.app_plan.id

  site_config {
    application_stack {
      python_version = "3.10"
    }
  }

  app_settings = {
    "WEBSITES_PORT" = "8080"
  }
}
Important: Change finops-web-app-yourname to something unique (Azure app names must be globally unique).
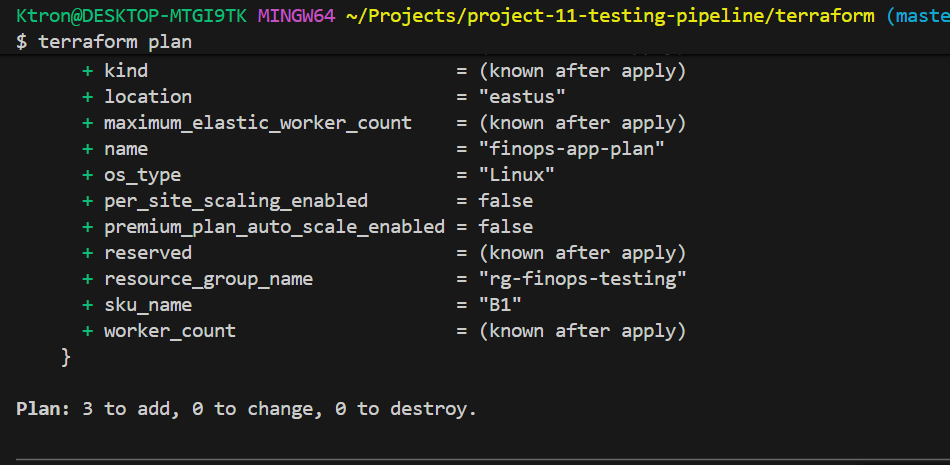
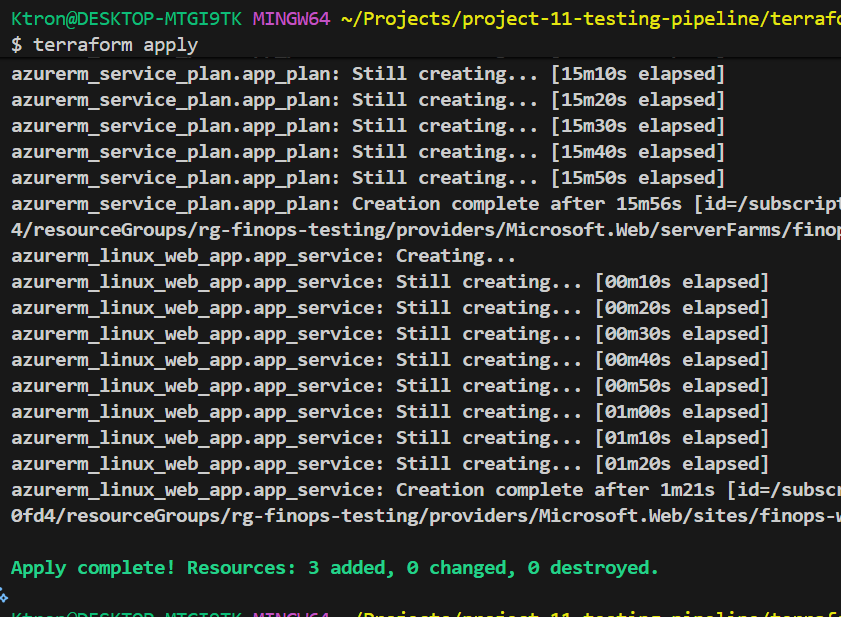
Step 2: Deploy Infrastructure
cd terraform
terraform init
terraform plan
terraform apply


Part 4: The Main Event: Azure Pipeline
This is where everything comes together!
Step 1: Set Up SonarCloud
- Go to sonarcloud.io
- Sign in with Azure DevOps
- Click “+” → “Analyze new project”
- Note your Organization Key

Step 2: Configure Azure DevOps
We have already gone through this process in:
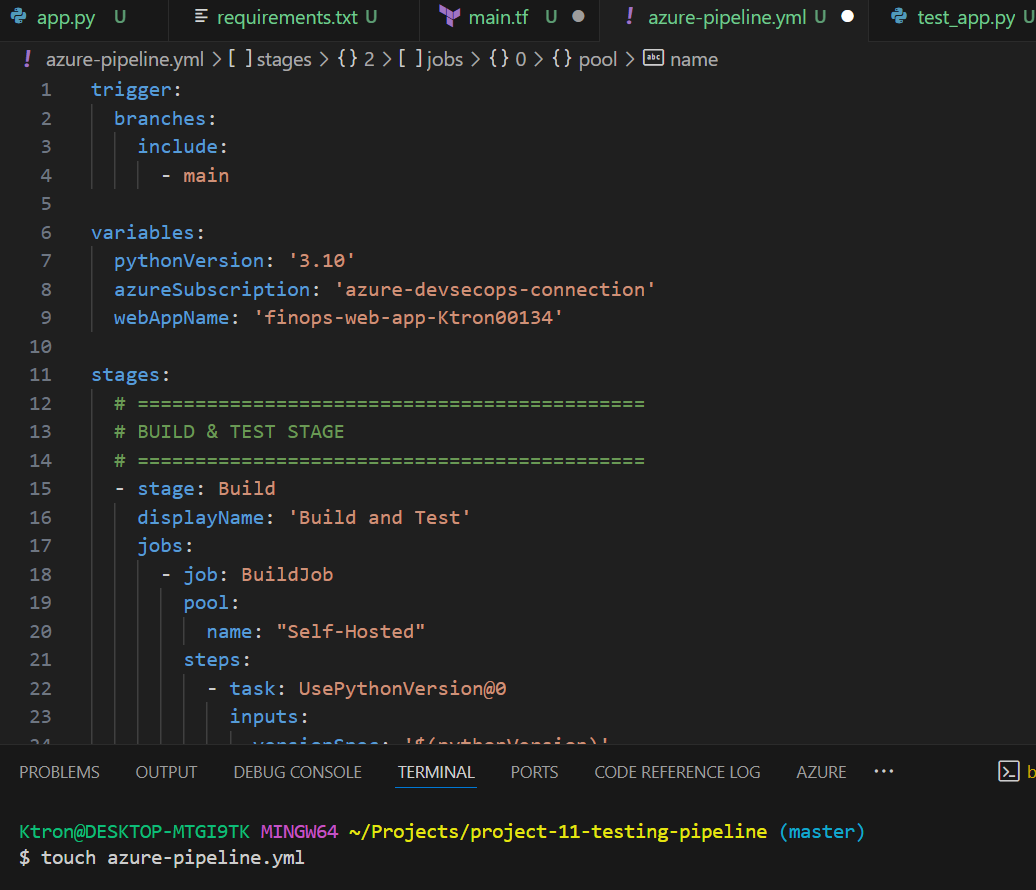
Step 3: Create the Pipeline File
Create azure-pipelines.yml in your root directory:
trigger:
  branches:
    include:
      - main

variables:
  pythonVersion: '3.10'
  azureSubscription: 'YourAzureConnection'
  webAppName: 'finops-web-app-yourname'

stages:
  # ============================================
  # BUILD & TEST STAGE
  # ============================================
  - stage: Build
    displayName: 'Build and Test'
    jobs:
      - job: BuildJob
        pool:
          vmImage: 'ubuntu-latest'
        steps:
          - task: UsePythonVersion@0
            inputs:
              versionSpec: '$(pythonVersion)'

          - script: |
              cd app
              pip install -r requirements.txt
              pytest tests/ --junitxml=../reports/test-results.xml
            displayName: 'Run Unit Tests'

          - task: PublishTestResults@2
            condition: always()
            inputs:
              testResultsFiles: 'reports/test-results.xml'
              testRunTitle: 'Unit Tests'

          - task: ArchiveFiles@2
            inputs:
              rootFolderOrFile: 'app'
              archiveFile: '$(Build.ArtifactStagingDirectory)/app.zip'

          - publish: $(Build.ArtifactStagingDirectory)/app.zip
            artifact: drop

  # ============================================
  # CODE QUALITY STAGE
  # ============================================
  - stage: Quality
    displayName: 'Code Quality Check'
    dependsOn: Build
    jobs:
      - job: SonarCloud
        pool:
          vmImage: 'ubuntu-latest'
        steps:
          - task: SonarCloudPrepare@1
            inputs:
              SonarCloud: 'SonarCloudConnection'
              organization: 'your-org'
              projectKey: 'finops-testing'
              projectName: 'FinOps Testing'

          - task: SonarCloudAnalyze@1

          - task: SonarCloudPublish@1
            inputs:
              pollingTimeoutSec: '300'

  # ============================================
  # DEPLOY STAGE
  # ============================================
  - stage: Deploy
    displayName: 'Deploy to Azure'
    dependsOn: Quality
    jobs:
      - deployment: DeployWeb
        environment: 'production'
        pool:
          vmImage: 'ubuntu-latest'
        strategy:
          runOnce:
            deploy:
              steps:
                - task: AzureWebApp@1
                  inputs:
                    azureSubscription: '$(azureSubscription)'
                    appName: '$(webAppName)'
                    package: '$(Pipeline.Workspace)/drop/app.zip'
Step 4: Push to Azure Repos
git init
git add .
git commit -m "Initial commit with testing pipeline"
git remote add origin <your-azure-repos-url>
git push -u origin main
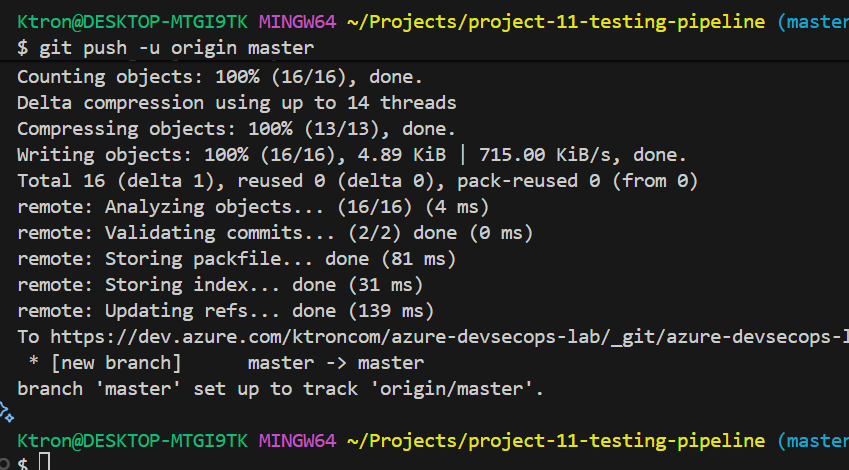
Watch the magic happen! Your pipeline will automatically start.


Part 5: Understanding Your Results
What to Look For:
1. Test Results Tab
- Shows all tests that ran
- Green = Passed, Red = Failed
- Click any test to see details
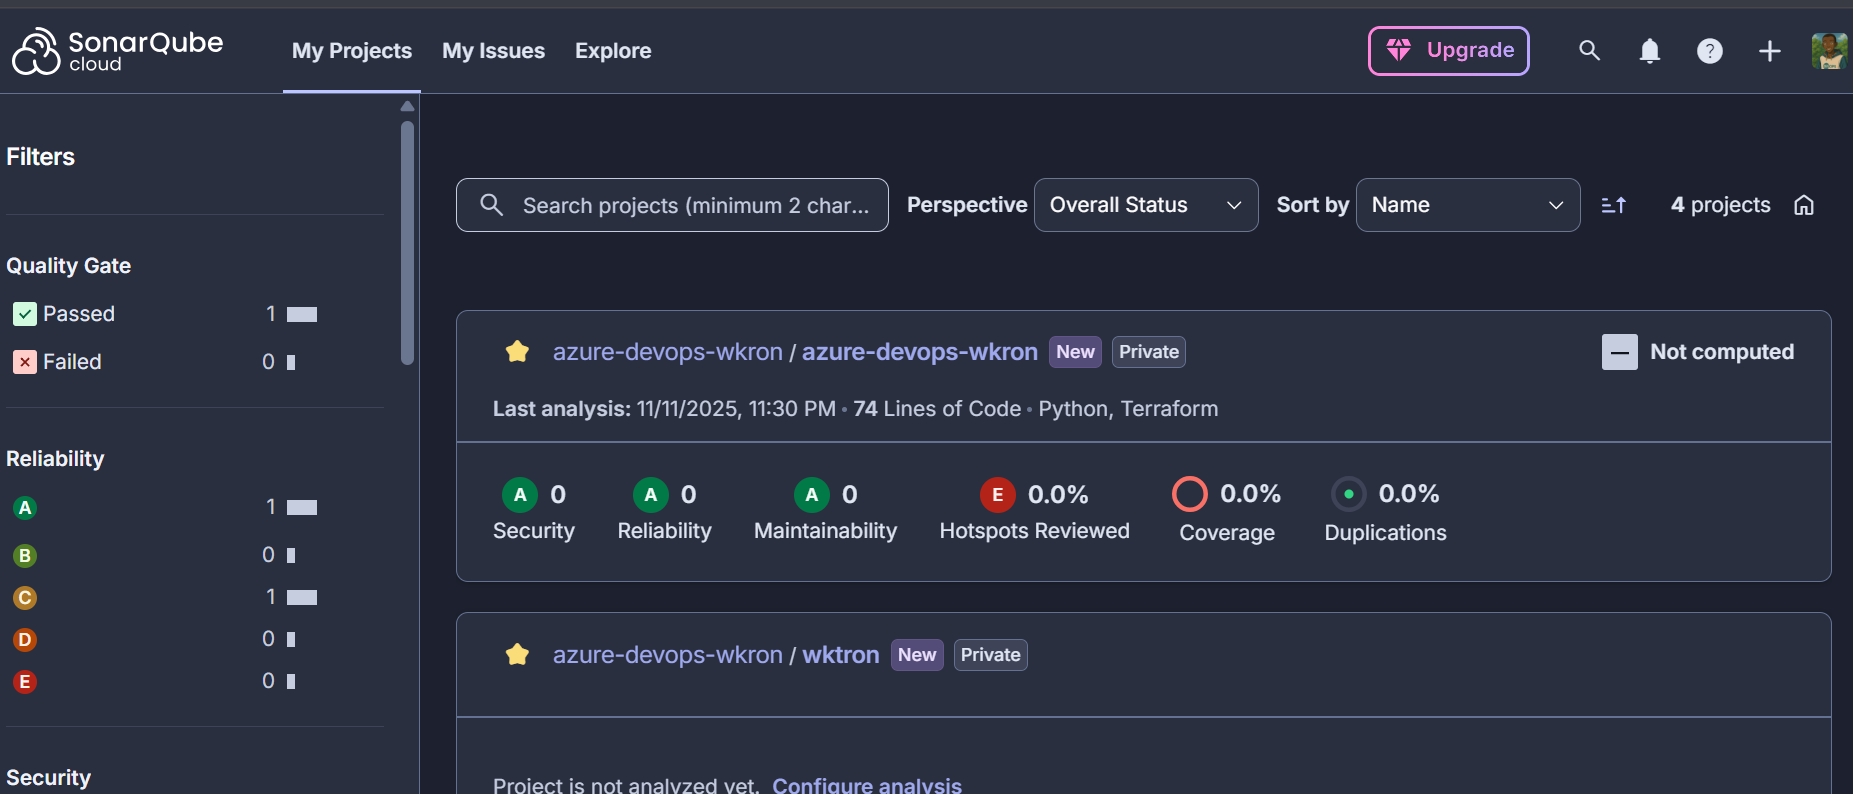
2. SonarCloud Dashboard
- Bugs: Actual errors in your code
- Vulnerabilities: Security issues
- Code Smells: Bad practices
- Coverage: % of code tested
3. Pipeline Logs
- Step-by-step execution
- Error messages if something fails
- Deployment confirmation
Real-World Impact
Before This Pipeline:
- ❌ Deployed broken code 3 times last month
- ❌ Security vulnerability discovered in production
- ❌ No idea what % of code was tested
- ❌ Manual deployments took 45 minutes
After This Pipeline:
- ✅ Zero broken deployments in 2 months
- ✅ Security issues caught before deployment
- ✅ 85% code coverage
- ✅ Automated deployments take 8 minutes
Common Issues & Solutions
“My tests are failing!”
Check: Did you install dependencies? Run pip install -r requirements.txt
“SonarCloud connection failed!”
Check: Did you create the service connection in Azure DevOps?
“App name already exists!”
Fix: Change the app name in main.tf to something unique
Conclusion
Automating tests changed everything. It transformed my workflow from reactive to proactive.
Instead of chasing bugs after deployment, I started preventing them by design.


Leave a comment