
Who this is for: Developers and DevOps engineers who know their way around Kubernetes (pods, deployments, services) but are new to autoscaling on Azure Kubernetes Service (AKS). We’ll simulate real traffic pressure and watch your cluster respond automatically.
The Scenario
You work at a fintech startup. Your team runs a loan calculator API on AKS. The API accepts a loan amount, interest rate, and term, then crunches the numbers and returns monthly repayment figures.
On a typical weekday, the service hums along with one pod. But every Monday morning at 9am, hundreds of users hit it simultaneously. Pods start choking under the CPU load, latency spikes, and customers get errors.
You could manually scale the deployment every Monday. Or you could set up autoscaling and let Kubernetes handle it forever.
Here’s what we’ll build from scratch:
- A custom Node.js loan calculator API that deliberately simulates heavy CPU work
- A Docker image pushed to Azure Container Registry (ACR)
- An AKS cluster wired to that registry
- HPA to automatically add more pods when load spikes
- VPA to right-size pod resources based on real usage patterns
- A live load simulation so you can watch everything react in real time
By the end, you’ll have a production-ready autoscaling pattern and a deep understanding of how HPA and VPA work together.
Prerequisites
You need the following tools installed locally before starting:
- Azure CLI : install guide
- Docker Desktop: to build and push the container image
- kubectl: to interact with your cluster
- Node.js 18+: to write and test the API locally first
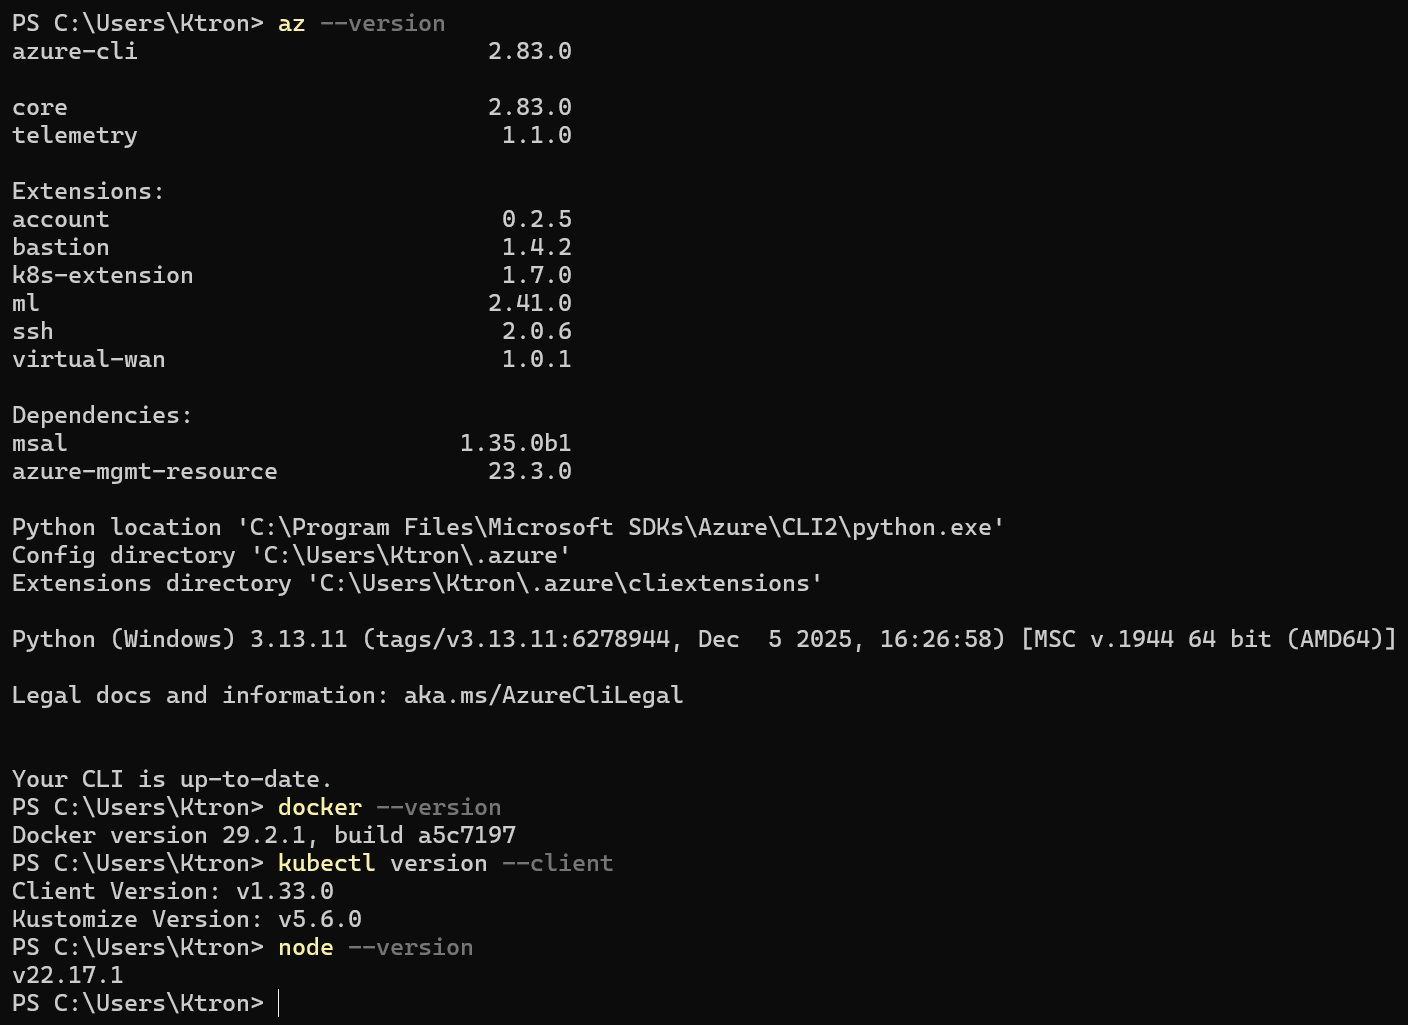
Verify everything is ready:
az --version docker --version kubectl version --clientnode --version
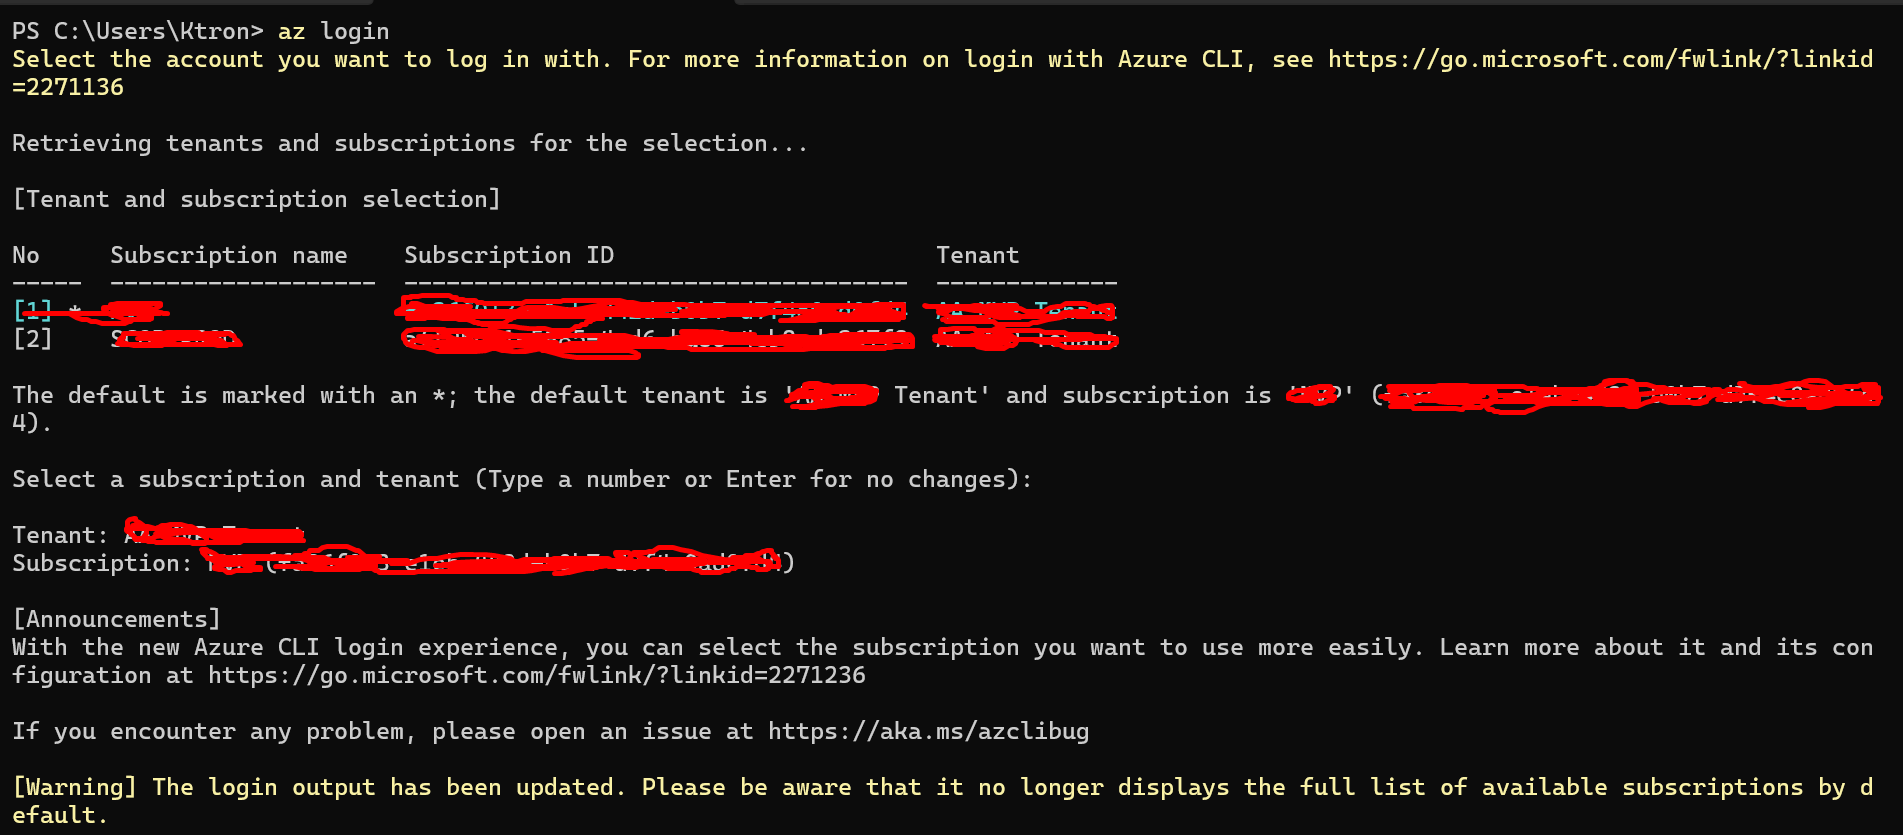
Log in to Azure:
az login
Step 1: Set Up Your Azure Environment
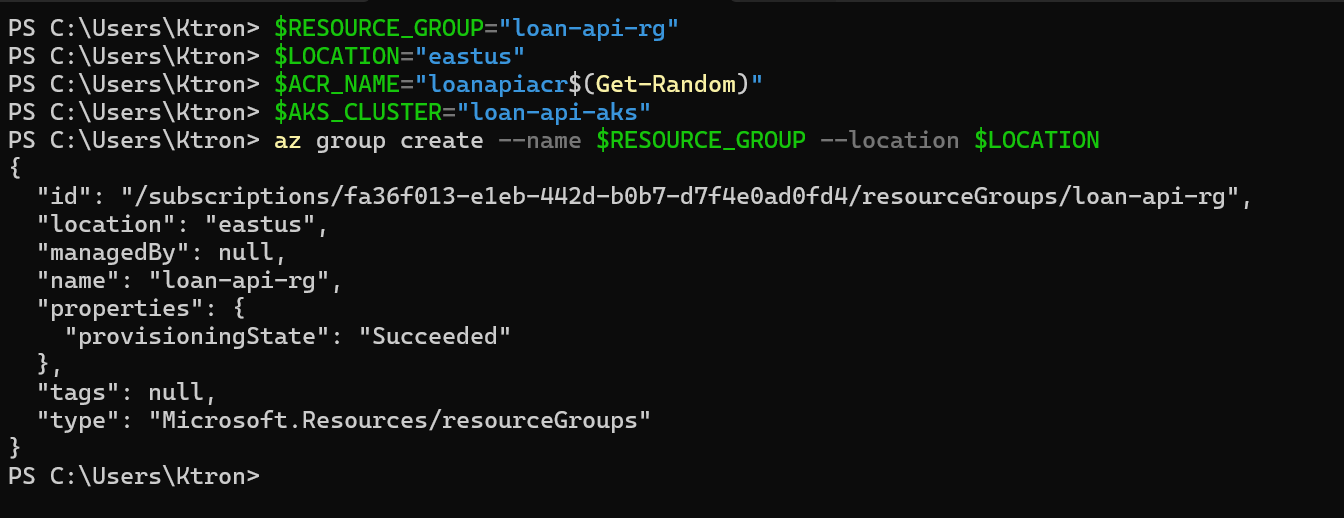
We’ll create a Resource Group to hold everything, then build ACR and AKS inside it. Using variables throughout keeps all the commands copy-pasteable.
# ── Set your variables ──────────────────────────────────────────$RESOURCE_GROUP="loan-api-rg-William"$LOCATION="eastus"$ACR_NAME="loanapiacr$(Get-Random)" # must be globally unique, so we add a random suffix$AKS_CLUSTER="loan-api-aks"# Create the resource groupaz group create --name $RESOURCE_GROUP --location $LOCATION
You should see "provisioningState": "Succeeded" in the output.
Step 2: Create Azure Container Registry (ACR)
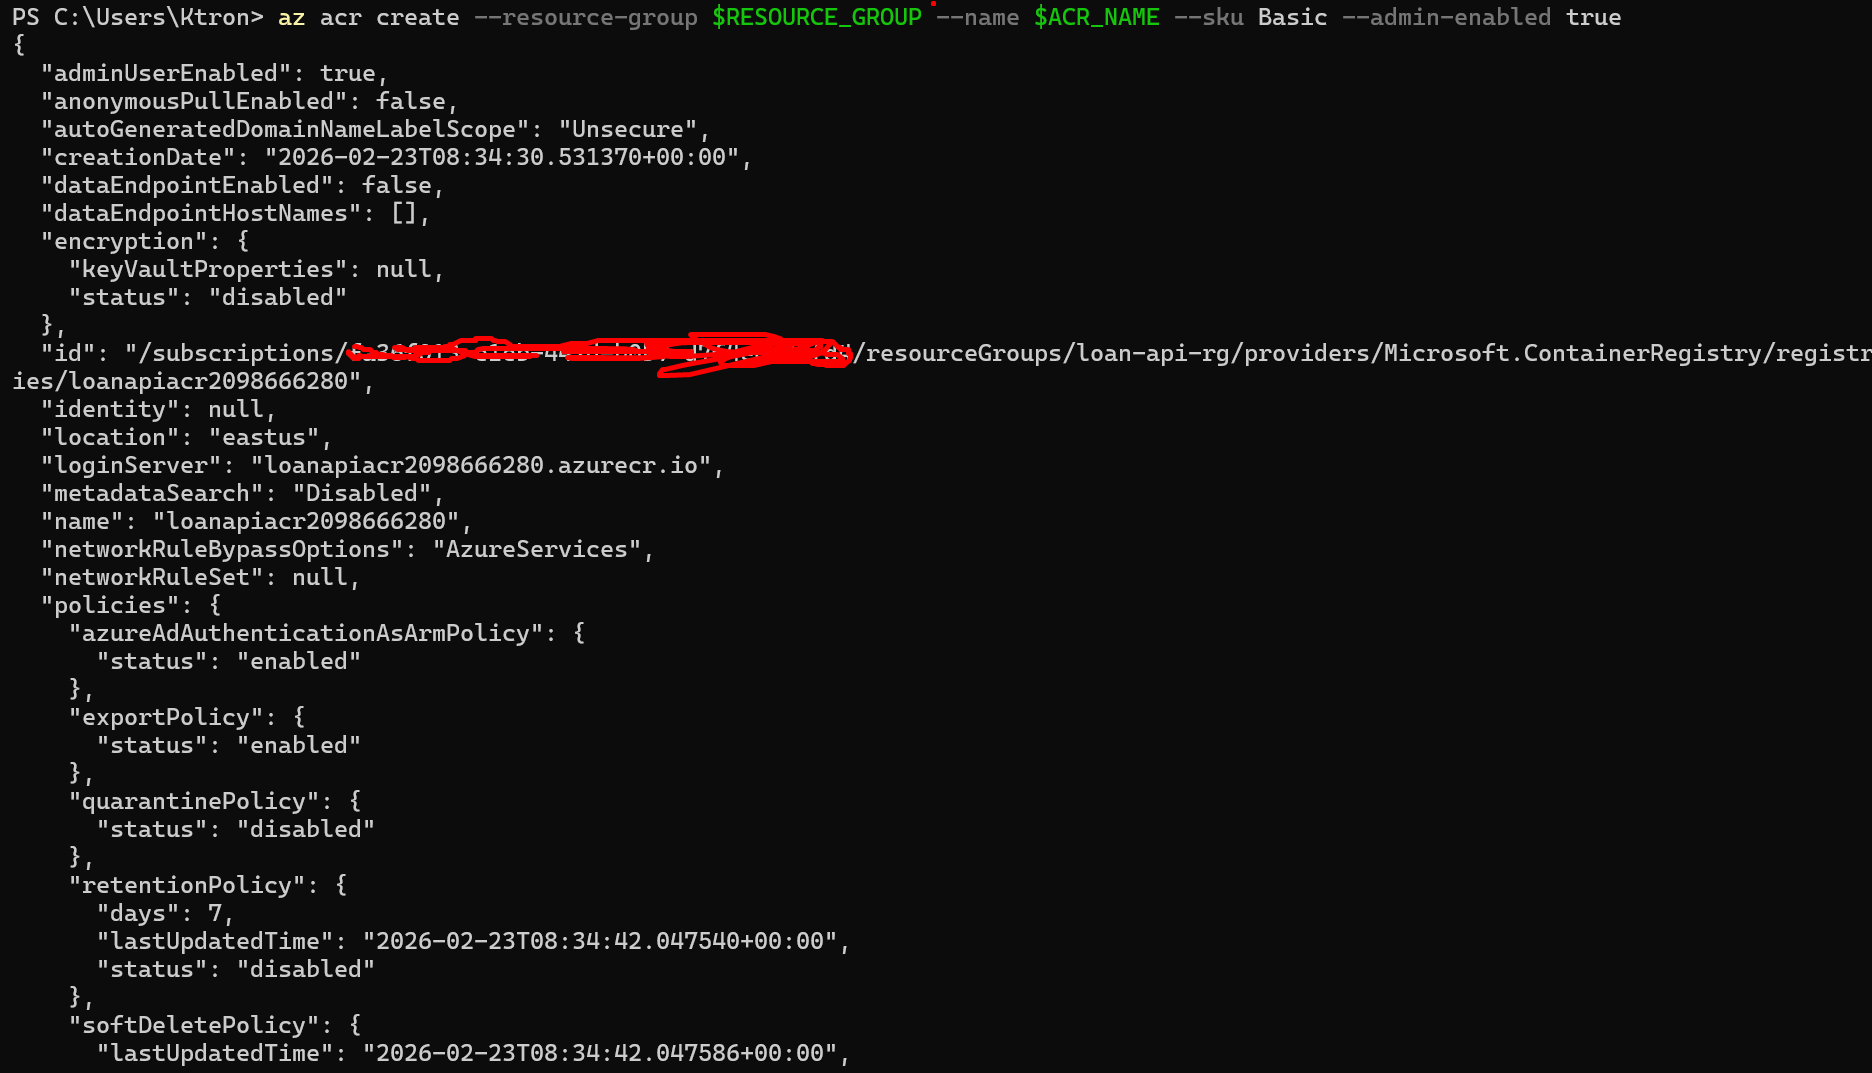
ACR is Azure’s private Docker registry. We’ll push our app image here, and the AKS cluster will pull from it.
# Create the registry (Basic SKU is fine for this guide)az acr create --resource-group $RESOURCE_GROUP --name $ACR_NAME --sku Basic --admin-enabled true# Save the full login server URL — you'll need it laterACR_LOGIN_SERVER=$(az acr show --name $ACR_NAME --query loginServer --output tsv)echo "Your ACR login server: $ACR_LOGIN_SERVER"# Example output: loanapiacr12345.azurecr.io

Step 3: Build the Node.js Loan Calculator API
Now let’s write the actual application. Create a new directory for the project:
mkdir loan-api && cd loan-api
3a. Write the Application Code
Create index.js:
const http = require('http');const PORT = process.env.PORT || 3000;function calculateLoan(principal, annualRate, termMonths) { let dummy = 0; for (let i = 0; i < 5_000_000; i++) { dummy += Math.sqrt(i) * Math.sin(i); } const monthlyRate = annualRate / 100 / 12; if (monthlyRate === 0) return (principal / termMonths).toFixed(2); const numerator = principal * monthlyRate * Math.pow(1 + monthlyRate, termMonths); const denominator = Math.pow(1 + monthlyRate, termMonths) - 1; return (numerator / denominator).toFixed(2);}const server = http.createServer((req, res) => { // ✅ Parse once at the top — pathname is clean, no query string const url = new URL(req.url, `http://localhost:${PORT}`); if (url.pathname === '/health') { res.writeHead(200, { 'Content-Type': 'application/json' }); res.end(JSON.stringify({ status: 'ok' })); return; } if (url.pathname === '/calculate' && req.method === 'GET') { const principal = parseFloat(url.searchParams.get('principal') || '100000'); const rate = parseFloat(url.searchParams.get('rate') || '5.5'); const term = parseInt(url.searchParams.get('term') || '360'); const monthly = calculateLoan(principal, rate, term); const totalPaid = (monthly * term).toFixed(2); const totalInterest = (totalPaid - principal).toFixed(2); res.writeHead(200, { 'Content-Type': 'application/json' }); res.end(JSON.stringify({ principal, annualRate: rate, termMonths: term, monthlyPayment: parseFloat(monthly), totalPaid: parseFloat(totalPaid), totalInterest: parseFloat(totalInterest), podName: process.env.POD_NAME || 'local', })); return; } res.writeHead(404, { 'Content-Type': 'application/json' }); res.end(JSON.stringify({ error: 'Not found' }));});server.listen(PORT, () => { console.log(`Loan API running on port ${PORT}`); console.log(`Pod: ${process.env.POD_NAME || 'local'}`);});
Create package.json:
{ "name": "loan-api", "version": "1.0.0", "description": "AKS autoscaling demo — loan calculator API", "main": "index.js", "scripts": { "start": "node index.js" }, "engines": { "node": ">=18" }}
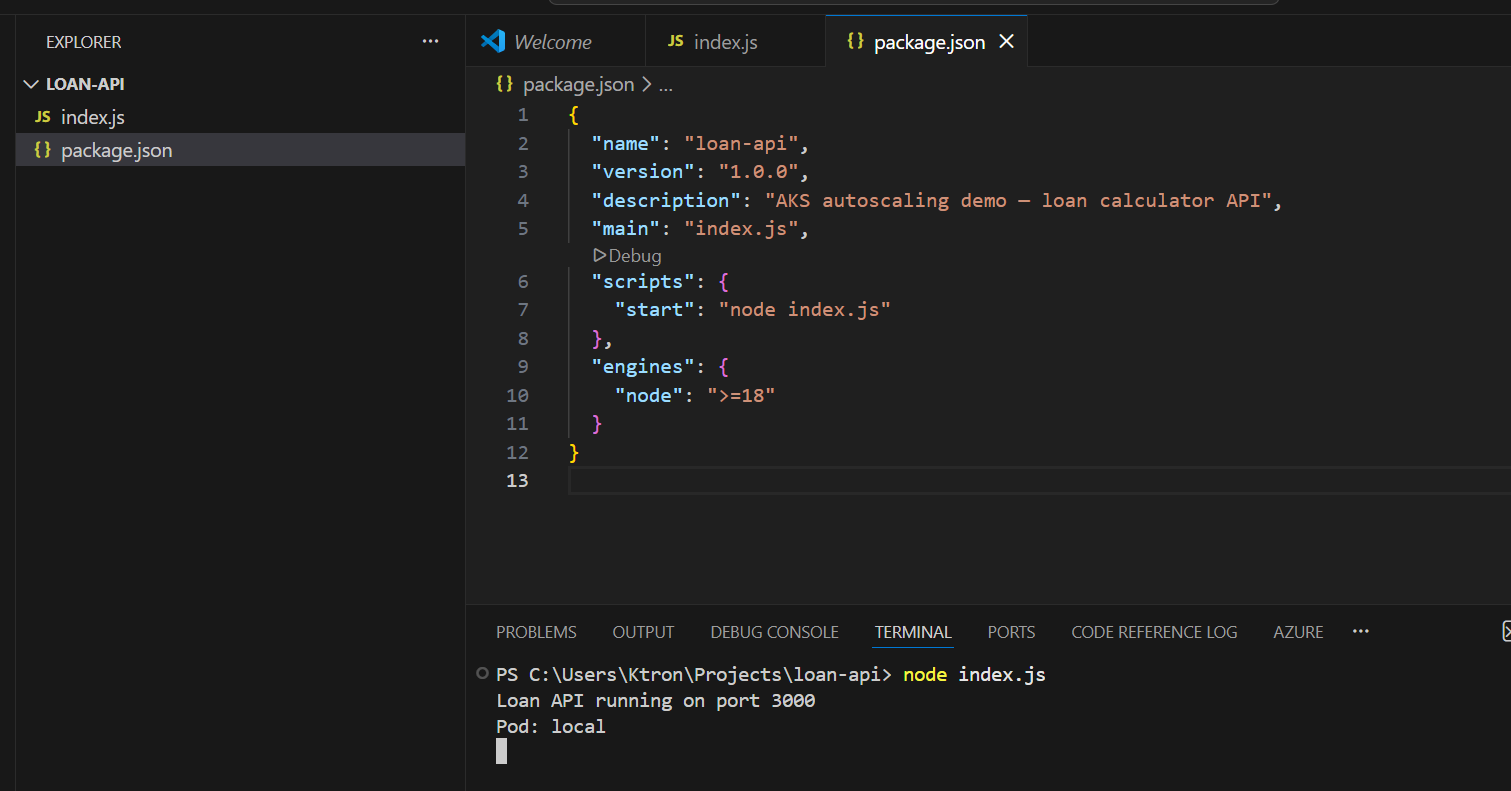
3b. Test It Locally
node index.js# Loan API running on port 3000
In another terminal, make a test request:
curl "http://localhost:3000/calculate?principal=250000&rate=6.5&term=360"
Expected response:
{ "principal": 250000, "annualRate": 6.5, "termMonths": 360, "monthlyPayment": 1580.17, "totalPaid": 568861.20, "totalInterest": 318861.20, "podName": "local"}
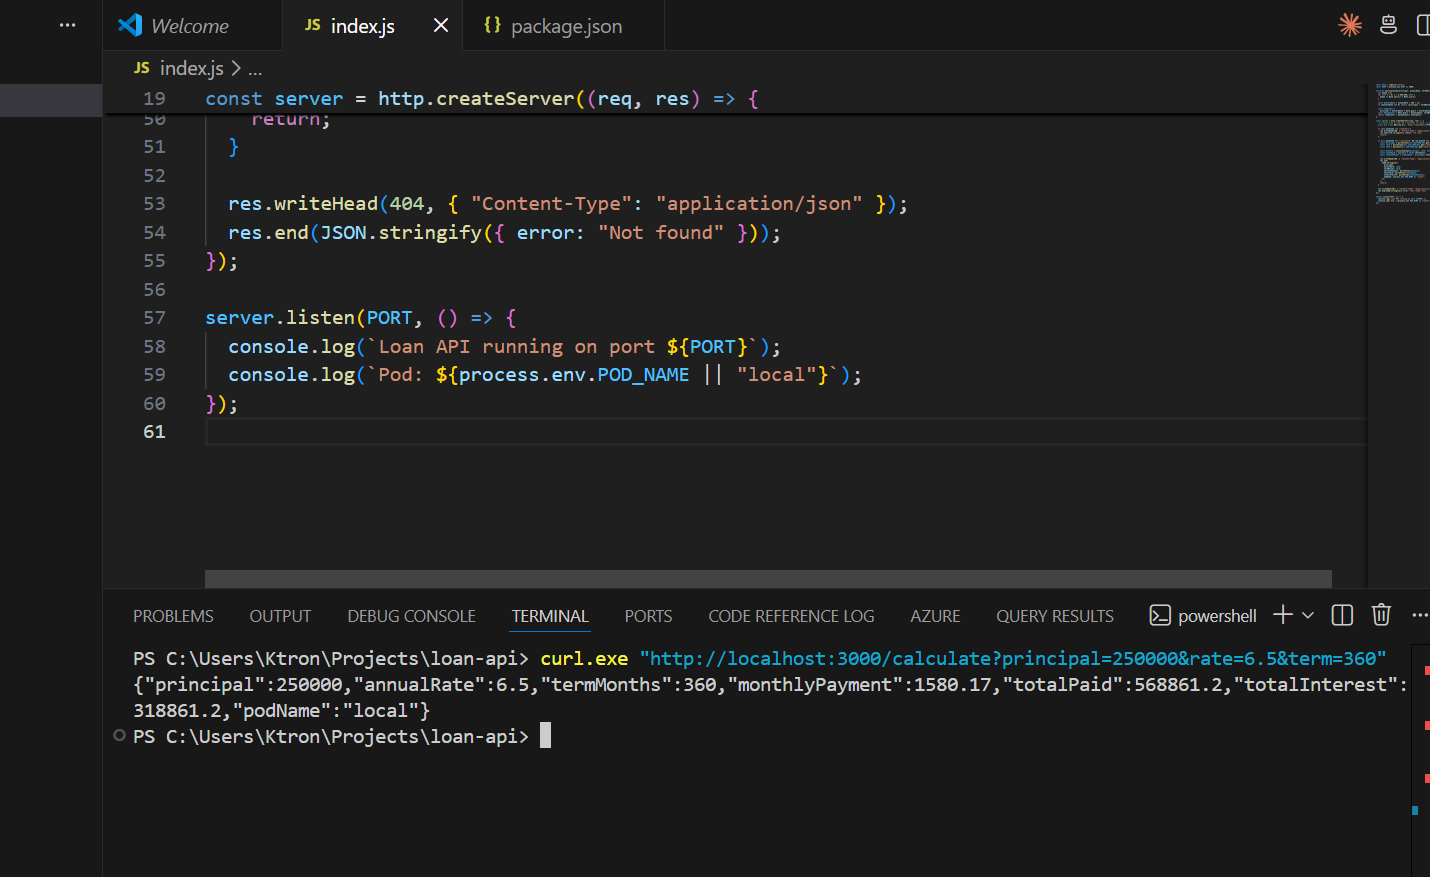
The podName field will show which pod handled the request once we’re on Kubernetes — great for seeing load balanced across replicas.
Stop the server (Ctrl+C) and move on.
Step 4: Containerize the App
4a. Write the Dockerfile
Create Dockerfile in the loan-api directory:
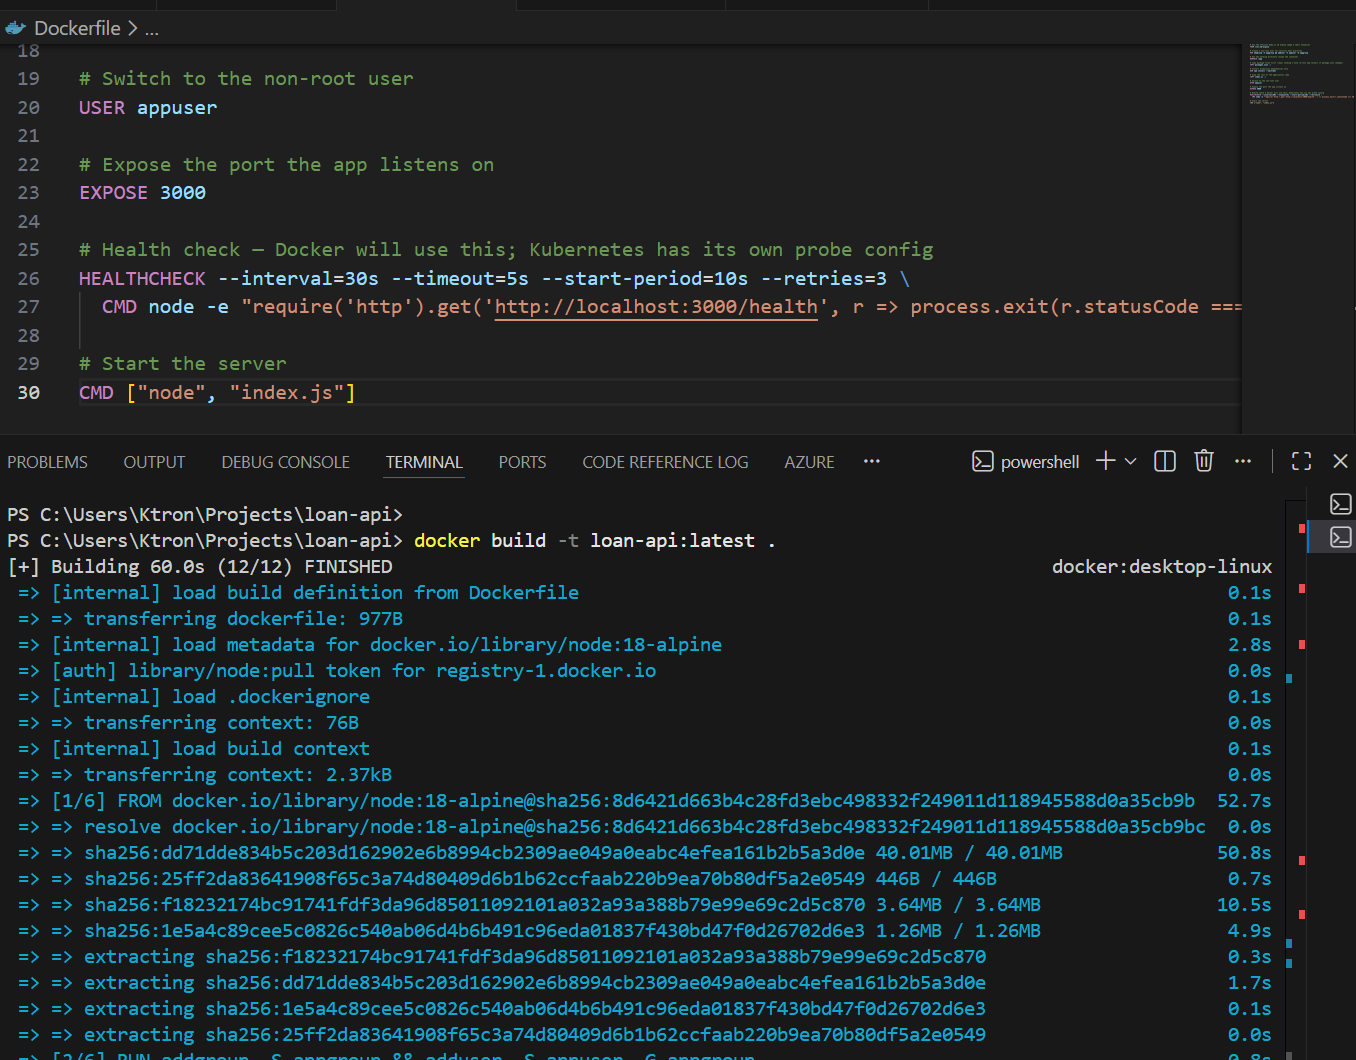
# Use the official Node.js 18 Alpine image — small footprintFROM node:18-alpine# Create a non-root user for security best practicesRUN addgroup -S appgroup && adduser -S appuser -G appgroup# Set the working directory inside the containerWORKDIR /app# Copy package files first (layer caching — only re-runs npm install if package.json changes)COPY package*.json ./# Install production dependencies onlyRUN npm install --omit=dev# Copy the rest of the application codeCOPY index.js ./# Switch to the non-root userUSER appuser# Expose the port the app listens onEXPOSE 3000# Health check — Docker will use this; Kubernetes has its own probe configHEALTHCHECK --interval=30s --timeout=5s --start-period=10s --retries=3 \ CMD node -e "require('http').get('http://localhost:3000/health', r => process.exit(r.statusCode === 200 ? 0 : 1))"# Start the serverCMD ["node", "index.js"]
Create .dockerignore to keep the image lean:
node_modules*.log.envREADME.md
4b. Build and Test the Image Locally
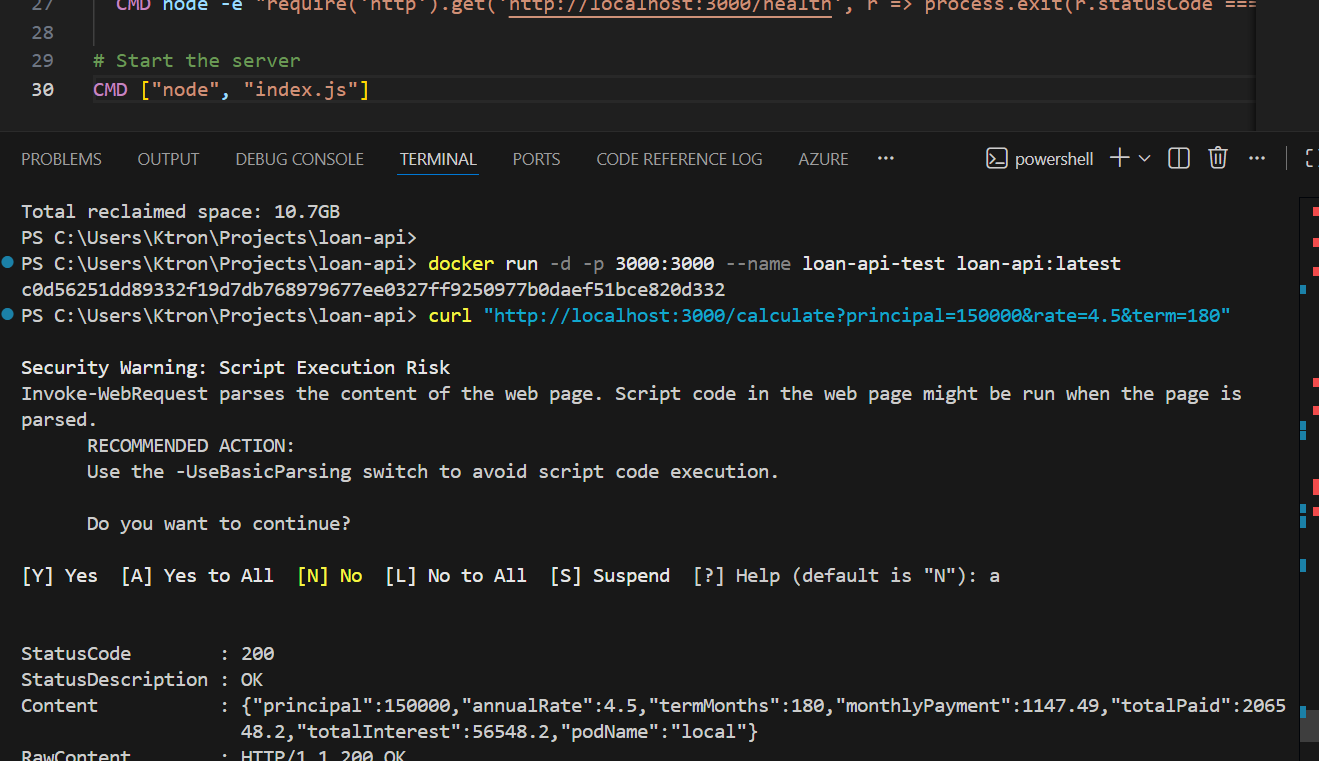
# Build the imagedocker build -t loan-api:latest .# Run it locally to confirm the container worksdocker run -d -p 3000:3000 --name loan-api-test loan-api:latest
Test it one more time:
curl "http://localhost:3000/health"# {"status":"ok"} curl "http://localhost:3000/calculate?principal=150000&rate=4.5&term=180"
Stop and remove the test container:
docker stop loan-api-test && docker rm loan-api-test
Step 5: Push the Image to ACR
Now we tag and push the image to your private ACR registry.
# Log in to ACR (uses your az login credentials)az acr login --name $ACR_NAME# Tag the image with the ACR login server prefixdocker tag loan-api:latest $ACR_LOGIN_SERVER/loan-api:v1# Push itdocker push $ACR_LOGIN_SERVER/loan-api:v1
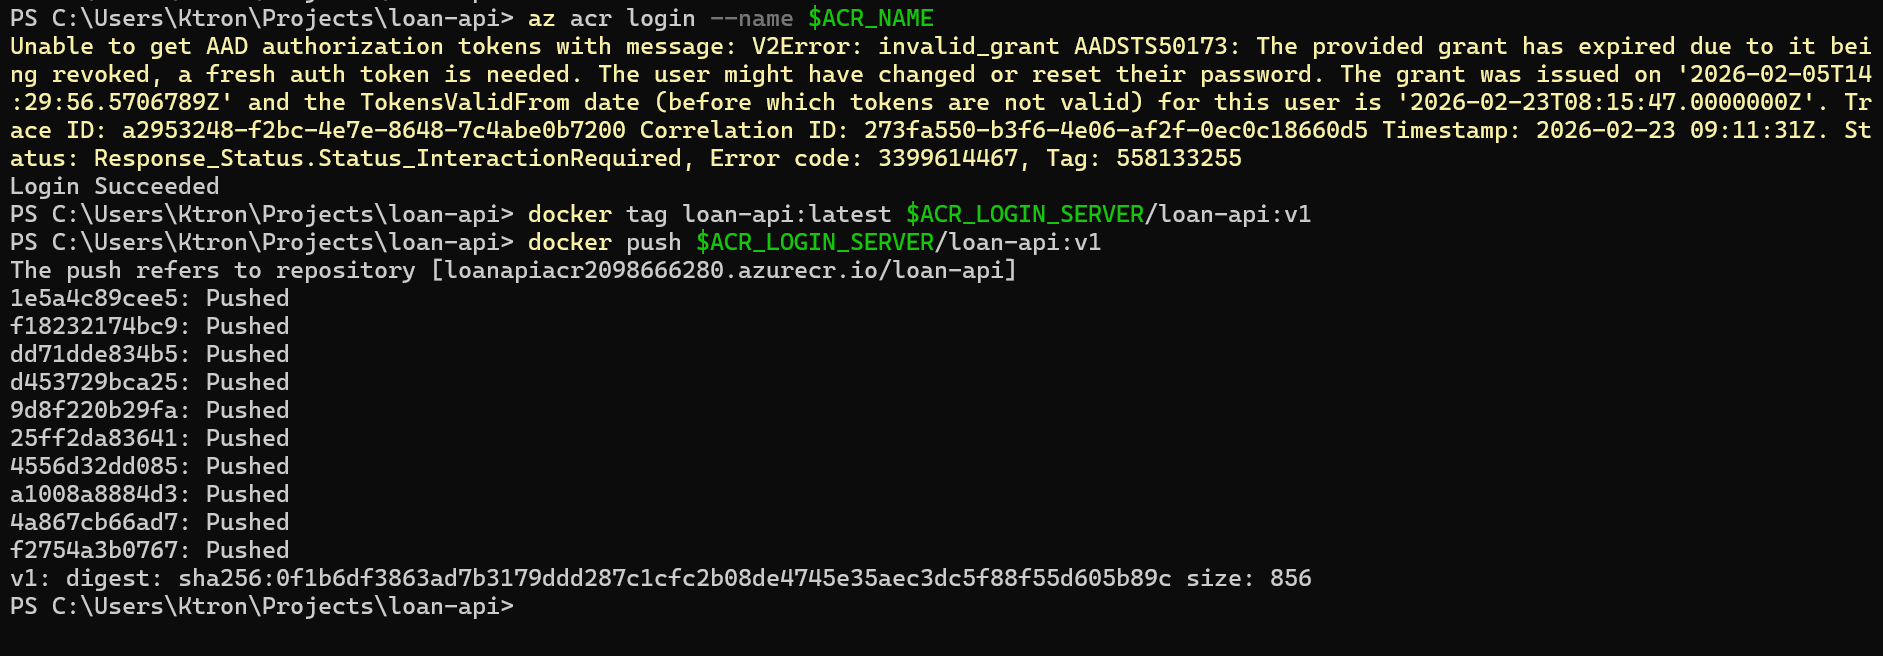
Confirm the image is in ACR:
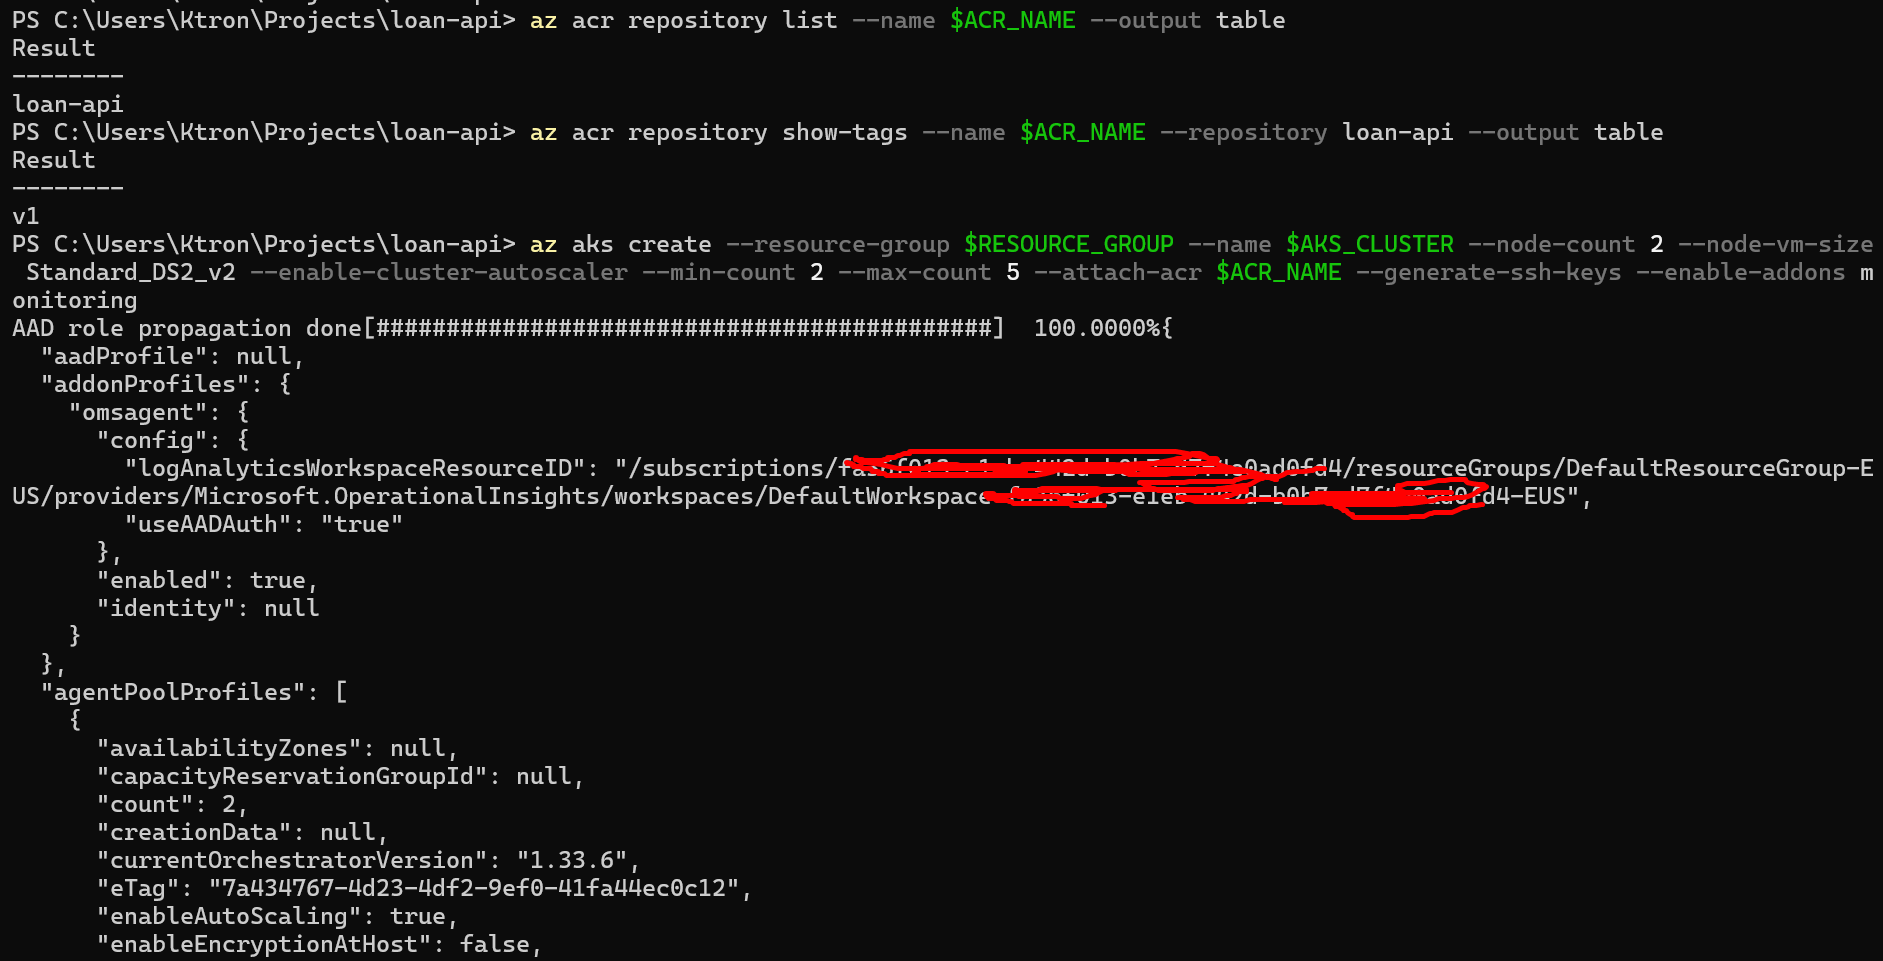
az acr repository list --name $ACR_NAME --output table# Result# ─────────# loan-api

Check the specific tag:
az acr repository show-tags --name $ACR_NAME --repository loan-api --output table# Result# ──────# v1
Step 6: Create the AKS Cluster
Now we spin up the cluster. We’re creating it with the --attach-acr flag which automatically grants the cluster permission to pull images from your ACR — no manual role assignments needed.
az aks create --resource-group $RESOURCE_GROUP --name $AKS_CLUSTER --node-count 2 --node-vm-size Standard_DS2_v2 --enable-cluster-autoscaler --min-count 2 --max-count 5 --attach-acr $ACR_NAME --generate-ssh-keys --enable-addons monitoring
This takes 3–5 minutes. Let’s break down the important flags:
--node-count 2— starts with 2 worker nodes--enable-cluster-autoscalerwith--min-count 2 --max-count 5— the node pool itself can grow if pods can’t be scheduled. This works alongside HPA (which adds pods) so the cluster can also add more machines if needed--attach-acr— gives the cluster Managed Identity permission to pull from ACR--enable-addons monitoring— enables Azure Monitor and Container Insights
Once it completes, fetch the credentials so kubectl points at your new cluster:
az aks get-credentials --resource-group $RESOURCE_GROUP --name $AKS_CLUSTER# Verify the connectionkubectl get nodes
You should see 2 nodes in Ready state:
NAME STATUS ROLES AGE VERSIONaks-nodepool1-12345678-vmss000000 Ready agent 2m v1.28.3aks-nodepool1-12345678-vmss000001 Ready agent 2m v1.28.3

Verify Metrics Server
AKS ships with Metrics Server pre-installed (HPA depends on it). Let’s confirm:
kubectl get deployment metrics-server -n kube-system
NAME READY UP-TO-DATE AVAILABLE AGEmetrics-server 1/1 1 1 5m
If it’s missing for any reason, install it:
kubectl apply -f https://github.com/kubernetes-sigs/metrics-server/releases/latest/download/components.yaml

Step 7: Deploy the Loan API to AKS
Create a k8s/ directory in your project to hold all Kubernetes manifests:
mkdir k8s
7a. The Deployment and Service
Create k8s/deployment.yaml:
apiVersion: apps/v1kind: Deploymentmetadata: name: loan-api labels: app: loan-apispec: replicas: 1 # HPA will manage this number — we just set the starting point selector: matchLabels: app: loan-api template: metadata: labels: app: loan-api spec: containers: - name: loan-api # Replace <ACR_LOGIN_SERVER> with your actual value (e.g. loanapiacr12345.azurecr.io) image: <ACR_LOGIN_SERVER>/loan-api:v1 ports: - containerPort: 3000 env: - name: PORT value: "3000" - name: POD_NAME valueFrom: fieldRef: fieldPath: metadata.name # Injects the pod's own name — shows up in API responses resources: requests: cpu: "200m" # 0.2 CPU cores — intentionally low so HPA triggers quickly memory: "128Mi" limits: cpu: "500m" memory: "256Mi" livenessProbe: httpGet: path: /health port: 3000 initialDelaySeconds: 10 periodSeconds: 15 readinessProbe: httpGet: path: /health port: 3000 initialDelaySeconds: 5 periodSeconds: 10---apiVersion: v1kind: Servicemetadata: name: loan-apispec: selector: app: loan-api ports: - port: 80 targetPort: 3000 protocol: TCP type: ClusterIP
Before applying, substitute your real ACR login server into the image field:
# Replace the placeholder with your actual ACR serversed -i "s|<ACR_LOGIN_SERVER>|$ACR_LOGIN_SERVER|g" k8s/deployment.yaml
Apply it:
kubectl apply -f k8s/deployment.yaml
Watch the pod come up:
kubectl get pods -l app=loan-api --watch

Once it’s Running, test the API from inside the cluster:
# Temporarily expose the service for a quick smoke testkubectl port-forward service/loan-api 8080:80 &curl "http://localhost:8080/calculate?principal=200000&rate=5&term=240"# {"principal":200000,"annualRate":5,"termMonths":240,"monthlyPayment":1319.91,...,"podName":"loan-api-abc123-xyz"}

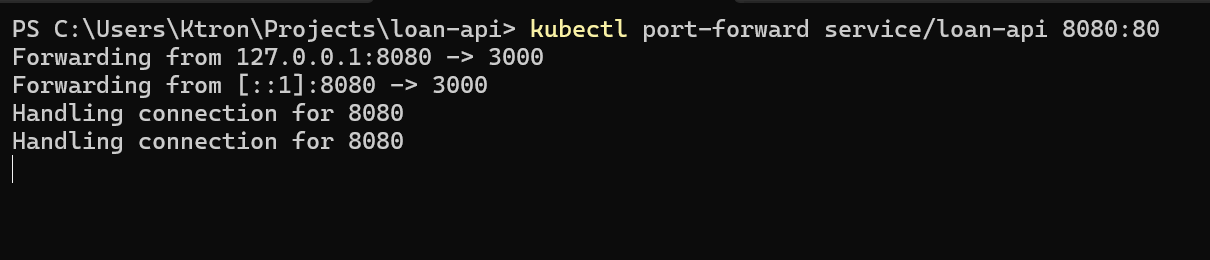
You can see the podName in the response — once HPA scales up to multiple pods, different requests will return different pod names, proving load is being distributed.
Kill the port-forward:
kill %1
Part 1: HPA — Scaling Out Under Load
Step 8: Create the HPA
Create k8s/hpa.yaml:
apiVersion: autoscaling/v2kind: HorizontalPodAutoscalermetadata: name: loan-api-hpaspec: scaleTargetRef: apiVersion: apps/v1 kind: Deployment name: loan-api minReplicas: 1 maxReplicas: 10 metrics: - type: Resource resource: name: cpu target: type: Utilization averageUtilization: 50 # Scale up when avg CPU across all pods exceeds 50% behavior: scaleDown: stabilizationWindowSeconds: 300 # Wait 5 mins before scaling down (prevents thrashing) policies: - type: Pods value: 1 periodSeconds: 60 # Remove at most 1 pod per minute when scaling down scaleUp: stabilizationWindowSeconds: 0 # Scale up immediately — no waiting policies: - type: Pods value: 4 periodSeconds: 60 # Add up to 4 pods per minute when scaling up
Apply it:
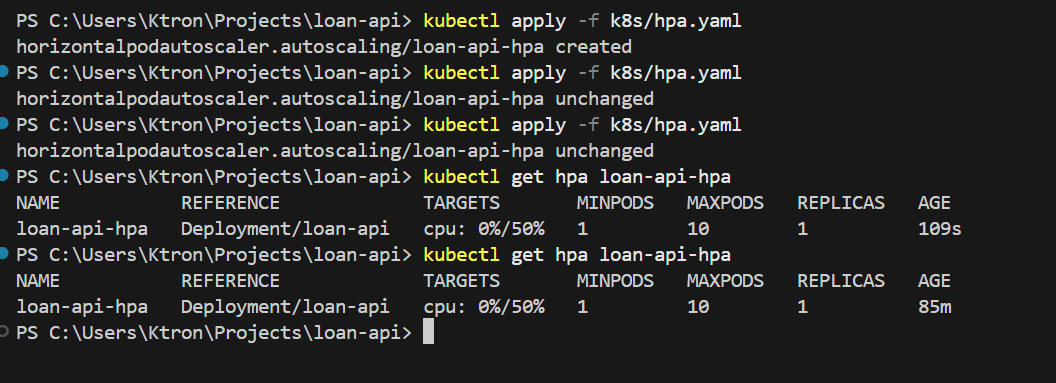
kubectl apply -f k8s/hpa.yaml
Check its initial state:
bash
kubectl get hpa loan-api-hpa
NAME REFERENCE TARGETS MINPODS MAXPODS REPLICAS AGEloan-api-hpa Deployment/loan-api 3%/50% 1 10 1 20s
The cluster is calm. Let’s break it.
Step 9: Simulate the Monday Morning Rush
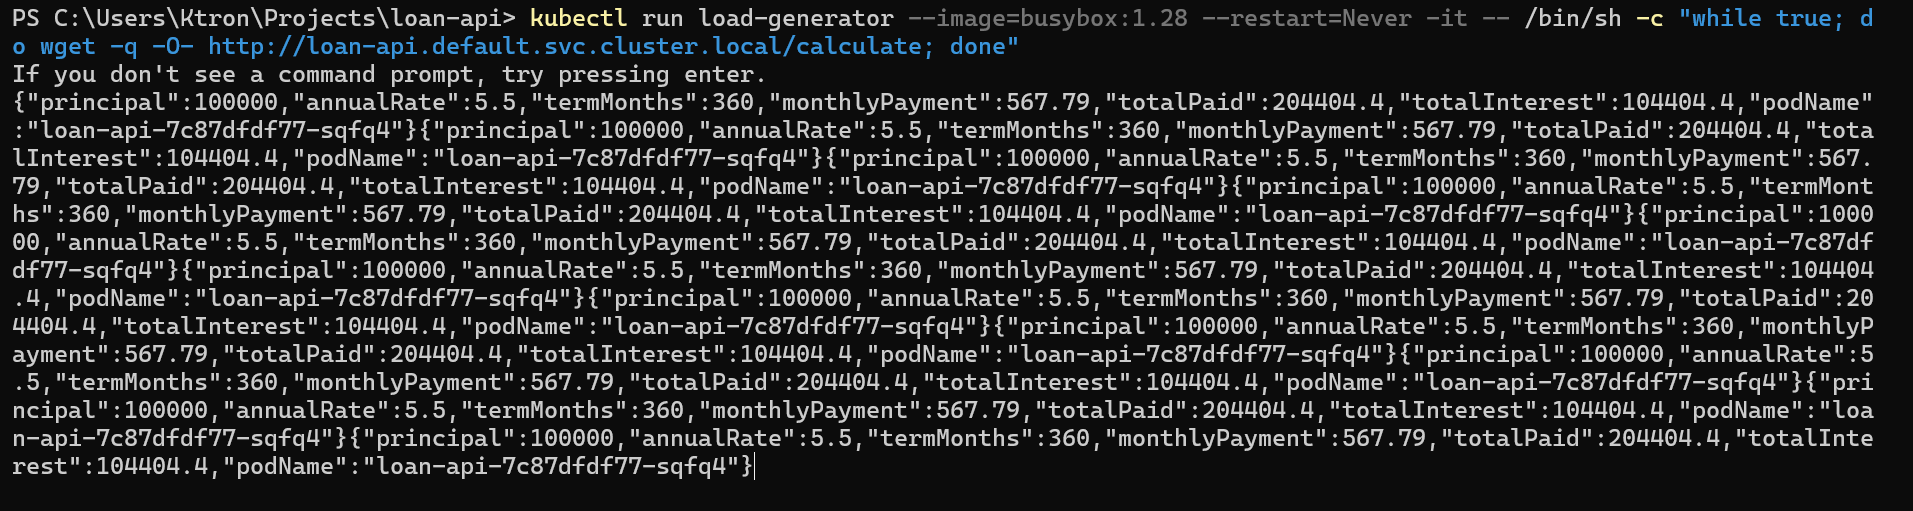
We’ll run a load generator pod directly inside the cluster, it sends a continuous flood of requests to the loan API. Open a second terminal for this.
Terminal 2 — Load Generator:
kubectl run load-generator --image=busybox:1.28 --restart=Never -it -- /bin/sh -c "while true; do wget -q -O- http://loan-api.default.svc.cluster.local/calculate; done"
Leave that running.
Terminal 1 : Watch HPA react:
kubectl get hpa loan-api-hpa --watch
Within 60–90 seconds you’ll see the CPU spike past 50% and replicas start climbing:
NAME REFERENCE TARGETS MINPODS MAXPODS REPLICASloan-api-hpa Deployment/loan-api 3%/50% 1 10 1loan-api-hpa Deployment/loan-api 92%/50% 1 10 1loan-api-hpa Deployment/loan-api 92%/50% 1 10 4loan-api-hpa Deployment/loan-api 67%/50% 1 10 6loan-api-hpa Deployment/loan-api 53%/50% 1 10 7loan-api-hpa Deployment/loan-api 48%/50% 1 10 7

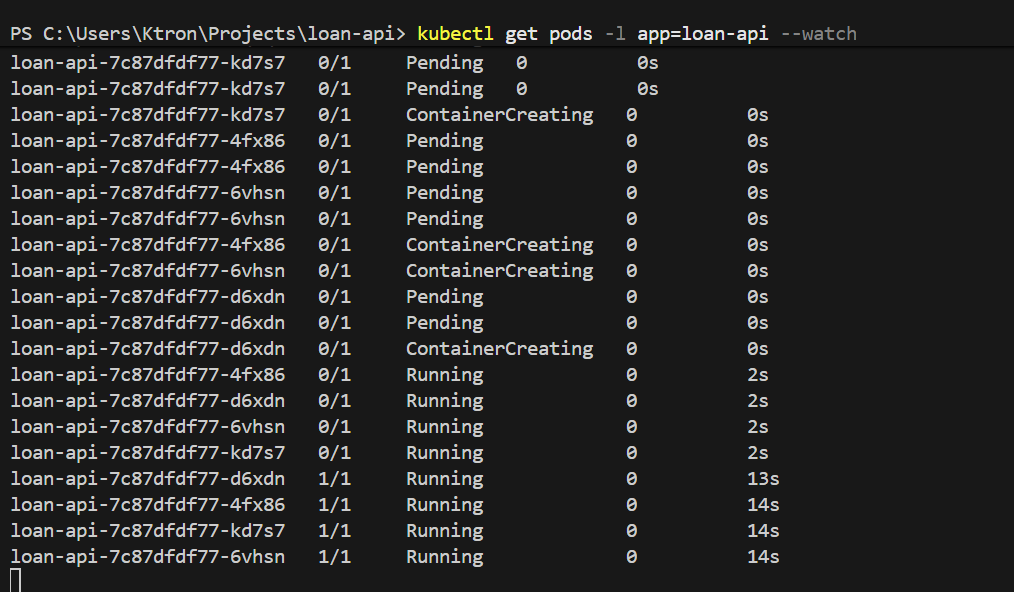
HPA keeps adding replicas until average CPU drops below 50%. Watch the pods appear:
kubectl get pods -l app=loan-api --watch
NAME READY STATUS RESTARTSloan-api-6d4f9b7c8-abc12 1/1 Running 0loan-api-6d4f9b7c8-def34 1/1 Running 0loan-api-6d4f9b7c8-ghi56 1/1 Running 0loan-api-6d4f9b7c8-jkl78 0/1 Pending 0 ← new pod startingloan-api-6d4f9b7c8-mno90 0/1 Pending 0 ← new pod starting
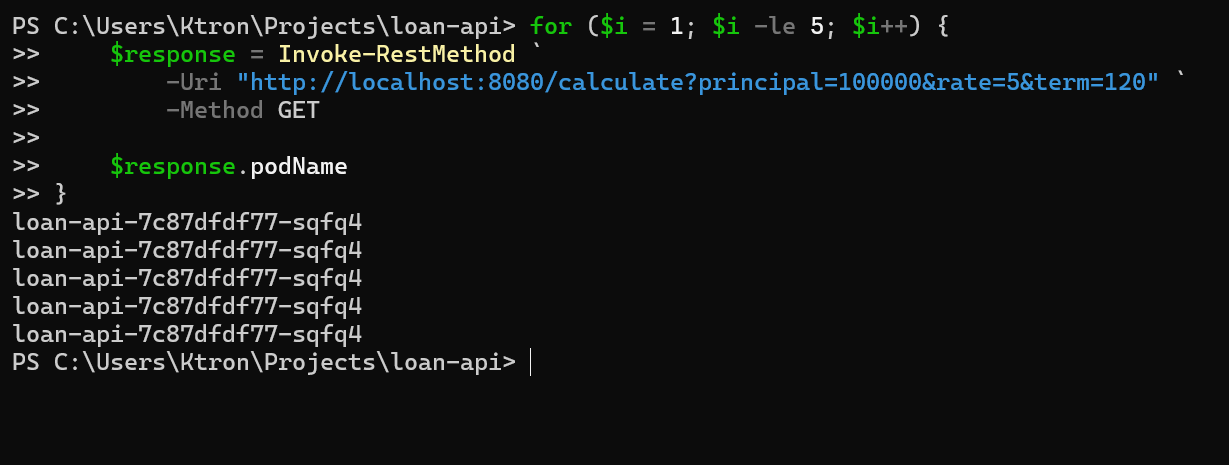
Now make some requests and notice different podName values proof that load is spreading across replicas:
kubectl port-forward service/loan-api 8080:80 &for i in {1..5}; do curl -s "http://localhost:8080/calculate?principal=100000&rate=5&term=120" | python3 -m json.tool | grep podNamedone
"podName": "loan-api-6d4f9b7c8-abc12""podName": "loan-api-6d4f9b7c8-ghi56""podName": "loan-api-6d4f9b7c8-def34""podName": "loan-api-6d4f9b7c8-abc12""podName": "loan-api-6d4f9b7c8-mno90"
Step 10: Stop Load and Watch Scale-Down
Stop the load generator (Ctrl+C in Terminal 2), then delete it:
kubectl delete pod load-generatorkill %1 # stop port-forward
Keep watching the HPA. Due to the 5-minute stabilization window we configured, it won’t scale down immediately:
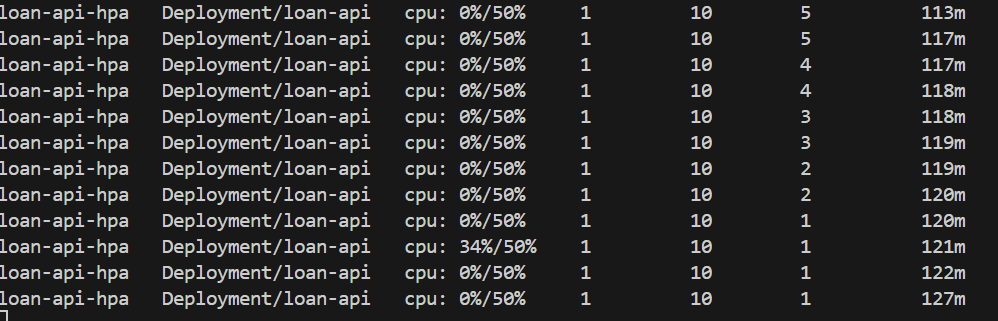
kubectl get hpa loan-api-hpa --watch# After ~5 minutes...# REPLICAS goes from 7 → 6 → 5 → ... → 1
Why the slow scale-down? The
stabilizationWindowSeconds: 300setting tells HPA to wait 5 minutes before removing pods. This prevents the “thrash” pattern — where load briefly dips, HPA removes pods, then load spikes again and HPA scrambles to recover. For our loan API, a Monday morning rush could have micro-lulls between bursts, so slow scale-down keeps us safe.
Part 2: VPA Right-Sizing Your Pods
HPA scaled out our pods perfectly. But there’s a subtlety: we set requests.cpu: 200m somewhat arbitrarily. What if the real workload needs 400m? With undersized requests, HPA over-provisions replicas (it creates more pods than needed because each one is too small). VPA solves this by learning actual usage and tuning the resource values.
Step 11: Install VPA on AKS
VPA isn’t enabled by default on AKS. Install it using the official Kubernetes autoscaler project:
# Clone the autoscaler repositorygit clone https://github.com/kubernetes/autoscaler.gitcd autoscaler/vertical-pod-autoscaler/pkg/admission-controller/gencerts.sh# Run the install script (installs CRDs + VPA admission controller, recommender, updater)./hack/vpa-up.sh# Go back to your project directorycd ../..
Verify all three VPA components are running:
kubectl get pods -n kube-system | grep vpa
vpa-admission-controller-xxx 1/1 Running 0 60svpa-recommender-xxx 1/1 Running 0 60svpa-updater-xxx 1/1 Running 0 60s
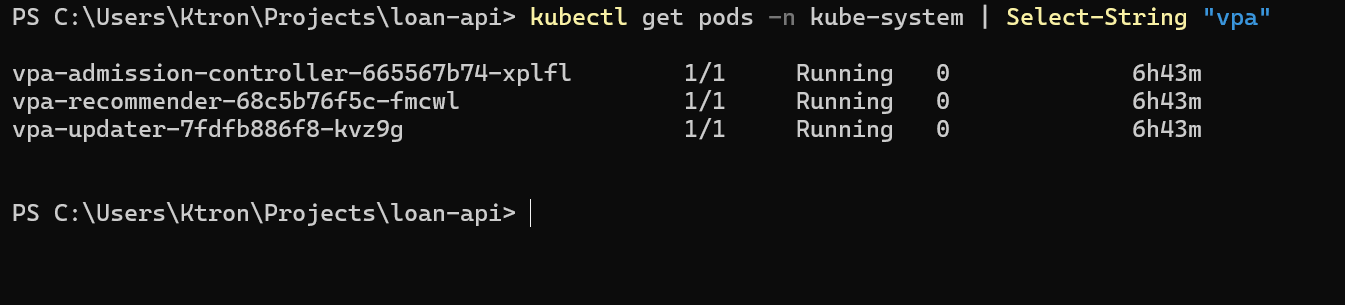
The three components each play a role:
- Recommender — watches metrics and calculates what resources pods actually need
- Updater — evicts pods that are running with out-of-date resource values
- Admission Controller — intercepts new pod creation and adjusts requests/limits on the fly
Step 12: Create the VPA Object
We’ll start in "Off" mode — VPA watches and recommends, but changes nothing. This is the safe way to evaluate VPA before letting it touch your running pods.
Create k8s/vpa.yaml:
apiVersion: autoscaling.k8s.io/v1kind: VerticalPodAutoscalermetadata: name: loan-api-vpaspec: targetRef: apiVersion: apps/v1 kind: Deployment name: loan-api updatePolicy: updateMode: "Off" # Recommendation-only — does not restart any pods resourcePolicy: containerPolicies: - containerName: loan-api minAllowed: cpu: 100m # Never recommend less than this memory: 64Mi maxAllowed: cpu: 2 # Never recommend more than this memory: 1Gi controlledResources: - cpu - memory
Apply it:
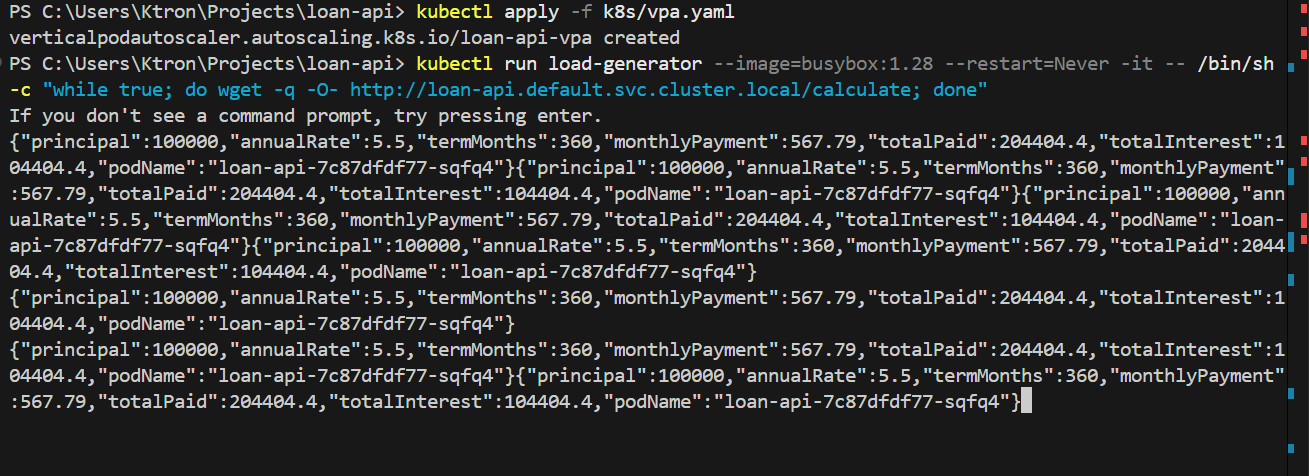
kubectl apply -f k8s/vpa.yaml
Step 13: Generate Load and Read the VPA Recommendation
Run the load generator again for 3–5 minutes:
kubectl run load-generator --image=busybox:1.28 --restart=Never -it -- /bin/sh -c "while true; do wget -q -O- http://loan-api.default.svc.cluster.local/calculate; done"
Wait a few minutes, then check what VPA has learned:
kubectl describe vpa loan-api-vpa
Look for the Recommendation block:
Status: Recommendation: Container Recommendations: Container Name: loan-api Lower Bound: Cpu: 210m Memory: 105Mi Target: Cpu: 520m ← VPA says we need 520m, not 200m Memory: 120Mi Uncapped Target: Cpu: 520m Memory: 120Mi Upper Bound: Cpu: 1200m Memory: 340Mi
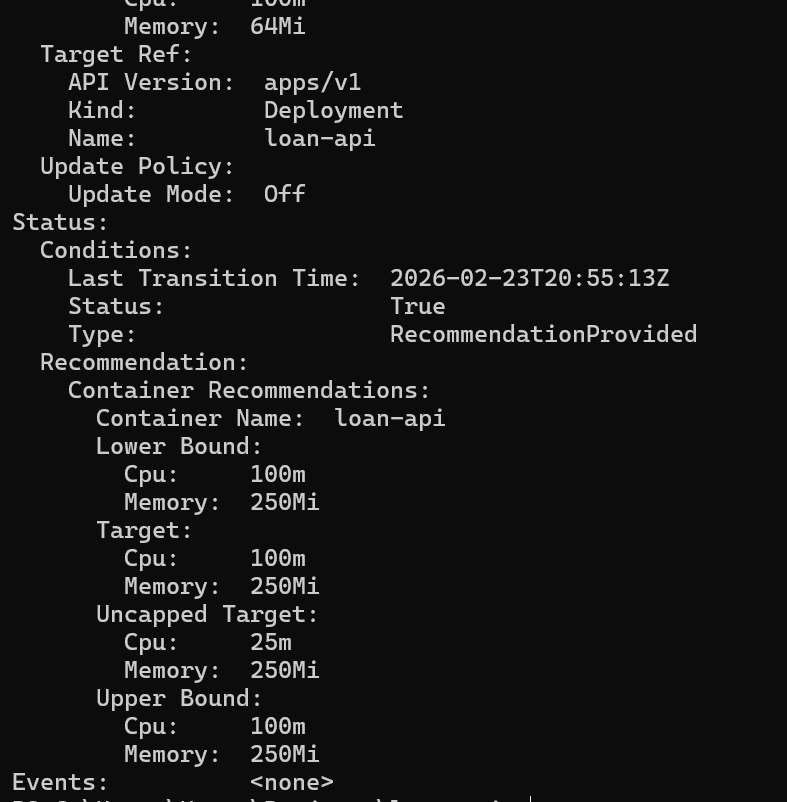
VPA is telling us our original requests.cpu: 200m was too low for this workload. With only 200m requested, the pod was being CPU-throttled — it needed 520m to run without choking. This explains why HPA had to spin up so many replicas: each one was starved. With correct resource requests, HPA would spin up fewer, more efficient pods.
Step 14: Switch VPA to Auto Mode
Once you’re satisfied with the recommendation, switch VPA to Auto mode. Stop the load generator first:
kubectl delete pod load-generator
Update the VPA mode:
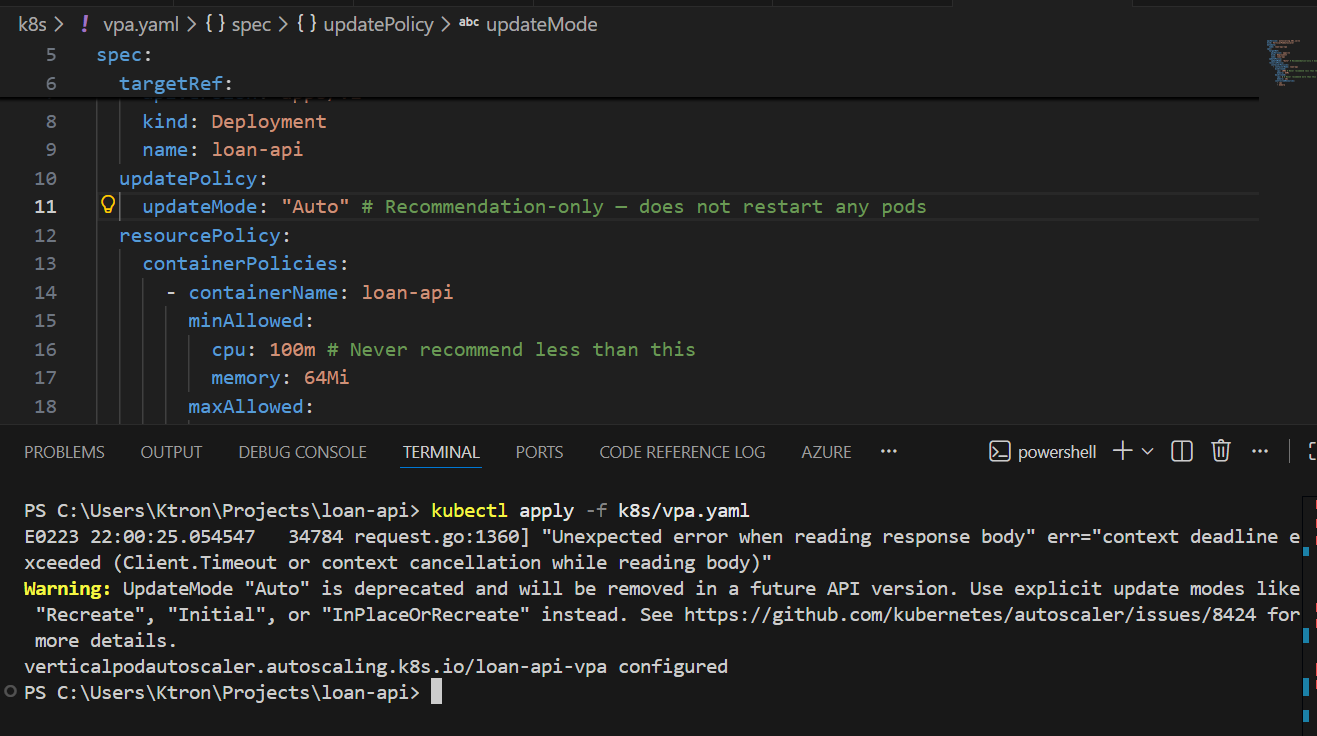
# Edit the updateMode in k8s/vpa.yaml: "Off" → "Auto"
  updatePolicy:
    updateMode: "Auto"     # VPA will now evict and recreate pods with updated resources
Apply:
kubectl apply -f k8s/vpa.yaml
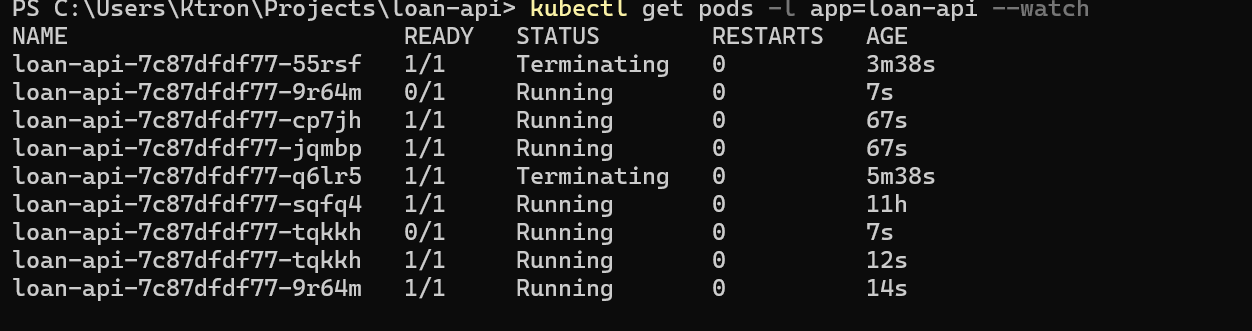
VPA will now evict the existing pod and recreate it with the recommended CPU/memory values. Watch it happen:
kubectl get pods -l app=loan-api --watch
NAME READY STATUS RESTARTSloan-api-6d4f9b7c8-abc12 1/1 Running 0loan-api-6d4f9b7c8-abc12 1/1 Terminating 0 ← VPA evictingloan-api-6d4f9b7c8-pqr99 0/1 Pending 0 ← new pod startingloan-api-6d4f9b7c8-pqr99 1/1 Running 0 ← running with new resources
Check the new pod’s resource requests — they should reflect VPA’s recommendation:
kubectl get pod -l app=loan-api -o jsonpath='{.items[0].spec.containers[0].resources}' | python3 -m json.tool

{ "limits": { "cpu": "1", "memory": "262144k" }, "requests": { "cpu": "520m", "memory": "120Mi" }}
VPA has right-sized the pod automatically.
Production tip: In
Automode, VPA evicts pods to apply changes. Always run at least 2 replicas and configure aPodDisruptionBudgetso evictions never take down your entire service.
Part 3: Running HPA and VPA Together Safely
Both are now active. But they can conflict if misconfigured. Here’s the golden rule:
HPA and VPA must not control the same resource metric.
If HPA scales based on CPU utilization while VPA is also adjusting CPU requests, they’ll fight each other in a feedback loop. The safe pattern for stateless APIs like ours is:
- HPA → scales replicas based on CPU utilization
- VPA → tunes memory only (and optionally CPU requests in
Offmode for manual review)
Update k8s/vpa.yaml to only control memory when running alongside HPA:
apiVersion: autoscaling.k8s.io/v1kind: VerticalPodAutoscalermetadata: name: loan-api-vpaspec: targetRef: apiVersion: apps/v1 kind: Deployment name: loan-api updatePolicy: updateMode: "Auto" resourcePolicy: containerPolicies: - containerName: loan-api minAllowed: memory: 64Mi maxAllowed: memory: 1Gi controlledResources: - memory # Only memory — HPA owns CPU-based scaling decisions
kubectl apply -f k8s/vpa.yaml
With this setup: HPA handles the “how many pods?” question based on CPU. VPA handles the “how much memory should each pod have?” question. They complement each other without stepping on each other’s toes.
Cleanup
When you’re done with the demo, remove all resources to avoid Azure charges:
# Delete the Kubernetes resourceskubectl delete -f k8s/# Or delete everything at once by removing the entire resource groupaz group delete \ --name $RESOURCE_GROUP \ --yes \ --no-wait
The --no-wait flag lets the deletion run in the background. It will take a few minutes to complete.
What We Built
Here’s a recap of the full journey:
Infrastructure: A Resource Group, an ACR registry, and a 2-node AKS cluster — all created with Azure CLI in minutes and wired together automatically with --attach-acr.
Application: A Node.js loan calculator API that does real amortization math plus a deliberate CPU burn loop so we can easily trigger autoscaling in a demo. Containerized, pushed to ACR as loan-api:v1, and deployed to AKS with proper health probes and resource declarations.
HPA: Monitors average CPU across all loan-api pods. The moment average utilization crosses 50%, it adds replicas — up to 10. It scales up aggressively (no delay) but scales down conservatively (5-minute window) to avoid thrashing.
VPA: Watches real CPU and memory usage and learns what each pod actually needs. We started it in Off mode to review recommendations safely, then promoted it to Auto. When running alongside HPA, we narrowed its scope to memory only so the two autoscalers don’t conflict.
Key Takeaways
Always set resources.requests on your containers. Both HPA and VPA are completely blind without them. This is the most common reason autoscaling silently fails.
HPA reacts to the present; VPA learns from the past. HPA is your real-time burst handler. VPA is your long-term efficiency tool. Both are necessary for a well-tuned production system.
Start VPA in Off mode. Let it observe for a week in production before switching to Auto. The recommendations will be much more accurate with real traffic patterns.
Scale-down is intentionally slow — that’s a feature. The stabilization window protects you from the flapping that would happen if HPA aggressively removed pods during natural traffic lulls between bursts.
The Cluster Autoscaler works one layer below HPA. HPA adds pods; if there’s no node with spare capacity to schedule them on, the Cluster Autoscaler adds a new node. We enabled it at cluster creation with --enable-cluster-autoscaler.


Leave a comment